Importing from the Dashboard
On this page
Algolia’s dashboard lets you import data from a file. This is useful when you’re just getting started with Algolia and want to test it out with sample data.
You can’t use the dashboard to update existing data. To synchronize or update live data, use an API client.
Source file
Algolia expects JSON records, which means you can import a JSON file directly.
1
2
3
4
5
6
7
8
9
10
[
  {
    "firstname": "Jimmie",
    "lastname": "Barninger"
  },
  {
    "firstname": "Warren",
    "lastname": "Speach"
  }
]
The Algolia dashboard also accepts CSV and TSV files.
1
2
3
firstname,lastname
Jimmie,Barninger
Warren,Speach
1
2
3
"firstname" "lastname"
"Jimmie"    "Barninger"
"Warren"    "Speach"
Creating a new index
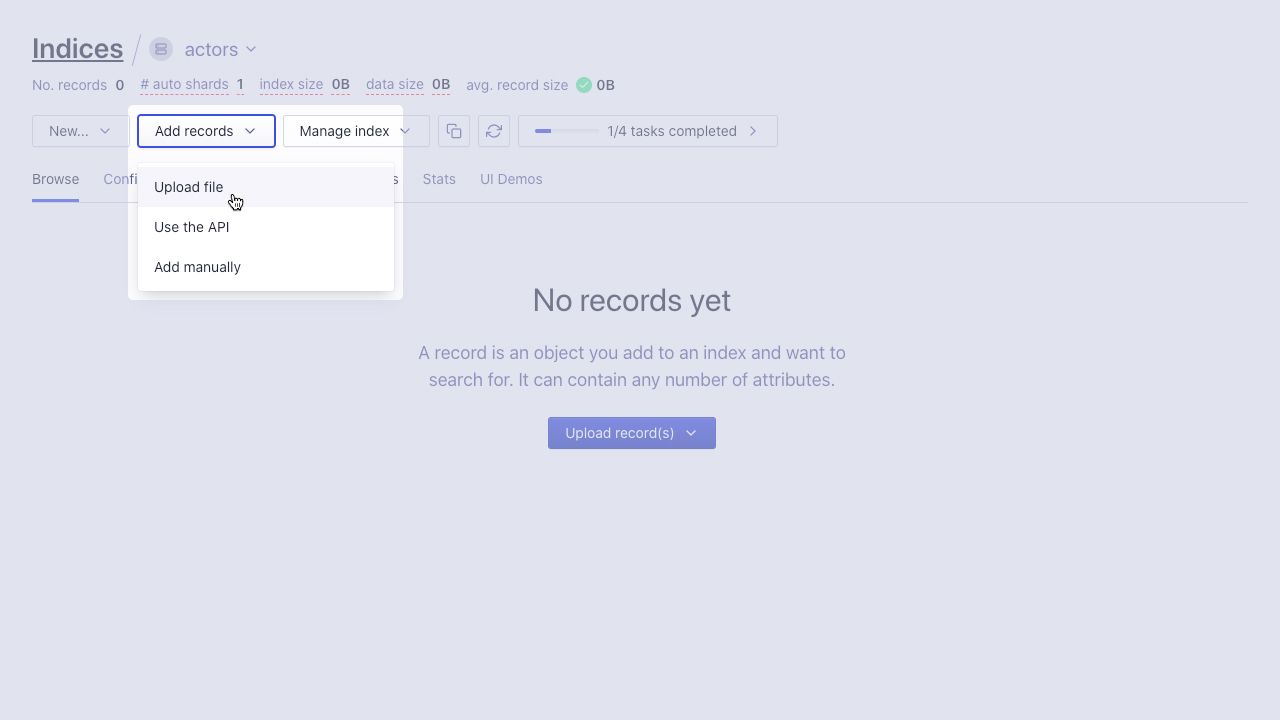
Head over to the Indices tab in the Algolia dashboard, and create a new index by clicking New > Index.
Then, give a name to your index and click Create.

Uploading the file
Once you’ve created the index, you can import the file.
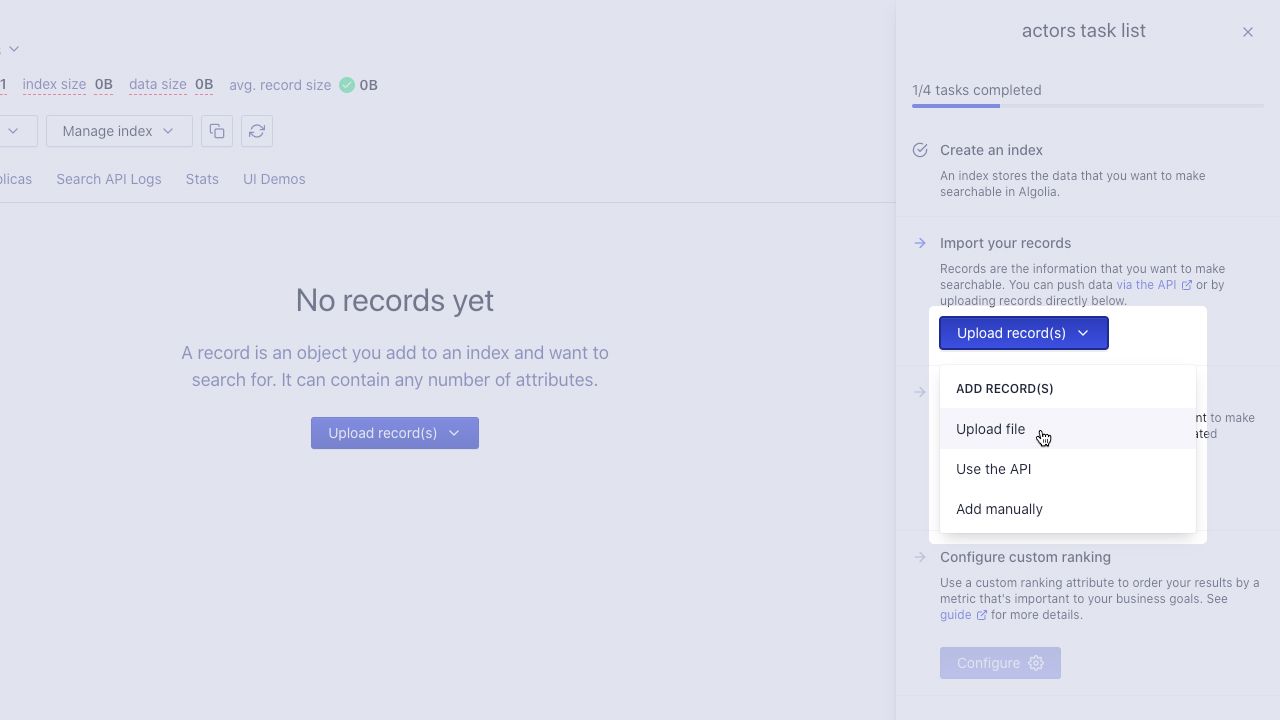
Right after you create an index, the dashboard opens a sidebar on the right. You can click Upload records > Upload file to import your file.
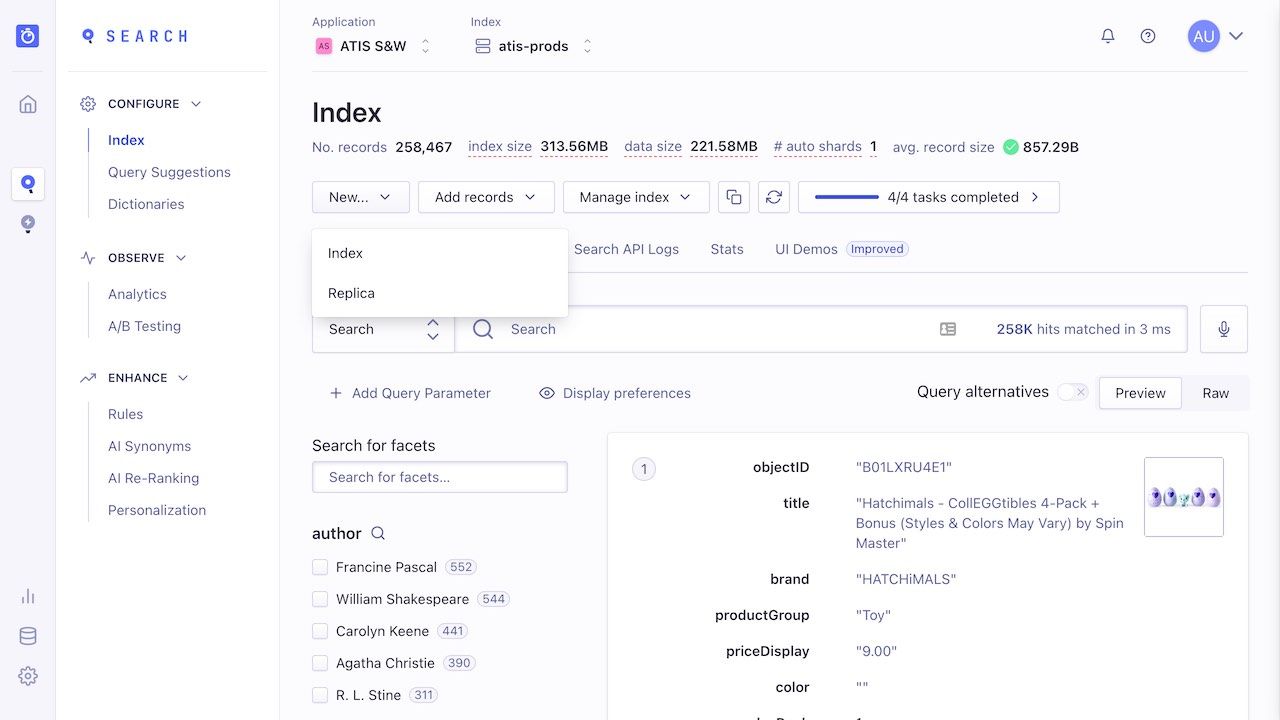
If you’re adding records to an existing index, you can click Add records > Upload file instead.
Drop the file into the Upload records box or click and select it on your file system. Then, click Upload.
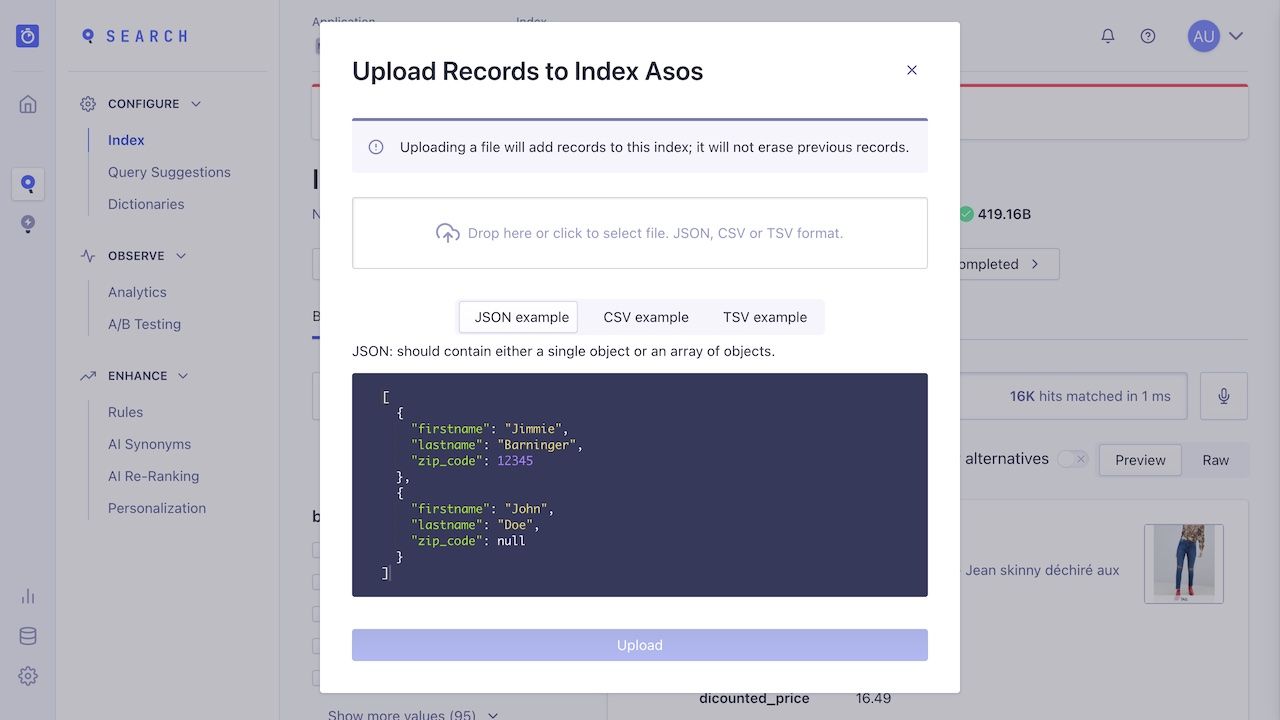
Once Algolia has indexed your data, the dashboard sends a notification indicating a successful save.
