Voice Search with InstantSearch Android
On this page
This guide explains how to build step by step a voice search experience using the libraries provided by Algolia. You’ll build an Android application with a classic search bar and a button that triggers the voice input. To create this app, you’ll use the InstantSearch and Voice overlay libraries.
Building a voice search experience has three steps:
- Input using speech-to-text
- Fulfillment using Algolia
- Output using speech synthesis
The speech-to-text layer - input
You must have a speech-to-text layer to convert your users’ speech into something Algolia understands (Algolia can’t process non-textual searches). You can add a speech-to-text layer in two ways:
- Using the Chrome browser, iOS or Android native apps, or a voice platform tool like Alexa or Google Assistant with speech-to-text built-in.
- Using a third-party service. You send the user’s speech to the service. When you receive it back, you then send it to Algolia as a search query. Some services include:
Algolia - fulfillment
In the fulfillment step, you take the users’ query and find the results in your Algolia index. You present relevant content to the user at the end of this process.
There are two parts to the Algolia fulfillment:
- query time settings
- index configuration Both parts are custom settings that improve search performance for the user.
Query time settings
The query time settings improve search results during query time. For instance, selecting a language for Algolia then allows you to set certain features like ignoring “noise” words that the user could enter in their search query. If you choose English as the language, and you turn on the stopwords feature, the search engine ignores words like ‘a’ and ‘an’ as they’re not relevant to the search query. This gives more exact search results.
- Set
removeStopWordsand ensure to select a supported language. For example,enfor English. This setting removes stop words like “a”, “an”, or “the” before running the search query. - Send the entire query string along as
optionalWords. Speech often has words that aren’t in any of your records. With this setting, records don’t need to match all the words. Records matching more words rank higher. For example, in the spoken query “Show me all blue dresses”, only “blue dresses” may yield results for a clothing store: the other words should be optional. - Set
ignorePluralstotrueand ensure to select a supported language. For example,enfor English. This setting marks words like “car” and “cars” as matching terms. - Apply
analyticsTagsto the query, including voice queries. You can activate these settings using thenaturalLanguagesparameter. These settings work well together when the query format is in natural language instead of keywords, for example, when your user performs a voice search.
Index configuration
Similarly, you can apply some rules related to your index. These rules are dynamic and would apply depending on what the user types in the search query. Detecting the intent of the user can help dynamically change the search results.
For example, the same search term on two different sites or apps can have a different ‘user intent’. Consider the search term ‘red’.
- On an ecommerce website, the user wants to find products that are colored red. A rule that displays all records with a
colorattribute of ‘red’ will improve search results for that set of users. - On a movie database site, the user wants to find films that contain the phrase “red” in the title. Ensuring that the
titleattribute is searchable and at the top of the custom rankings will improve search results for that set of users. To learn more about how to improve search performance, see rules for dynamic filters.
Speech synthesis - output
Not all voice platforms need speech synthesis or text-to-speech. For example, a website that shows search results may be enough.
If your voice platform does need speech synthesis, your options are:
- A built-in system such as Alexa or Google Assistant.
- A third-party system. Most modern browsers support speech synthesis through the SpeechSynthesis API. If you want a wider choice of voices, you have Azure Cognitive Services or Amazon Web Services’ Polly.
Prepare your project
To use InstantSearch Android, you need an Algolia account. You can create a new account, or use the following credentials:
- Application ID:
latency - Search API Key:
1f6fd3a6fb973cb08419fe7d288fa4db - Index name:
instant_search
These credentials give access to a preloaded dataset of products appropriate for this guide.
Create a new Android project
Start by creating a new Android project.
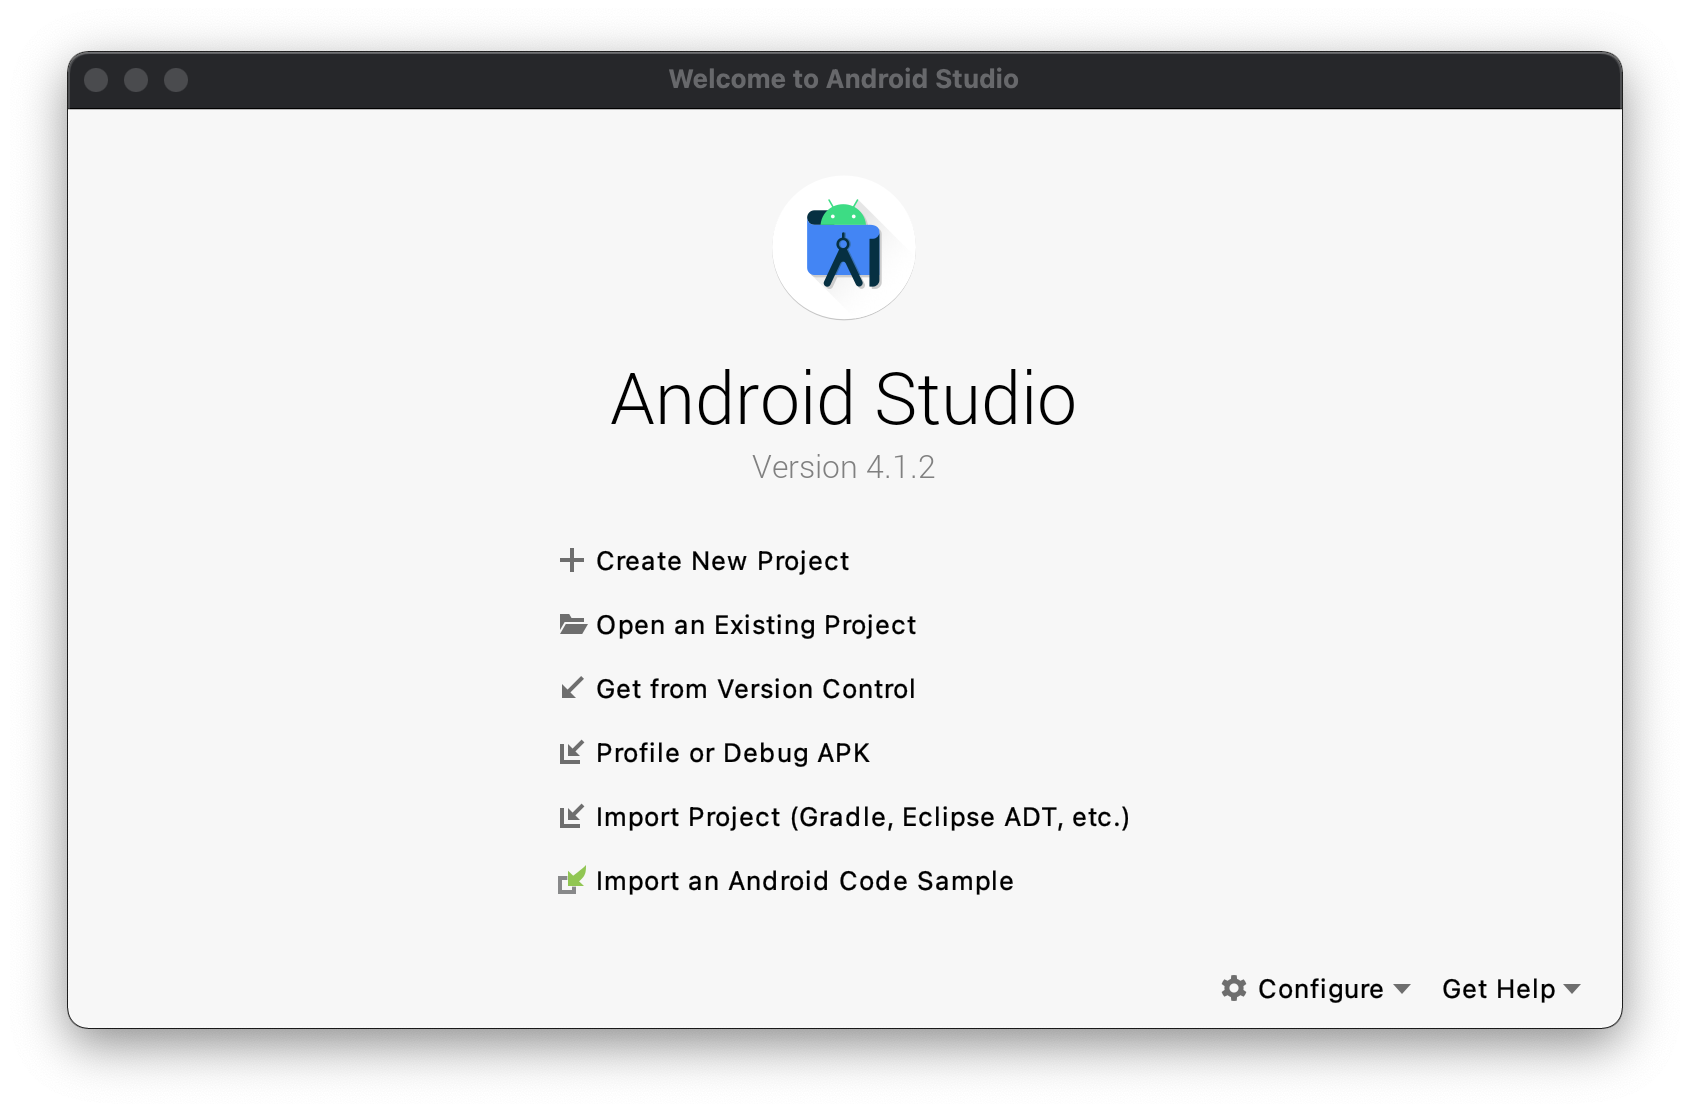
Open Android Studio, and select Create New Project.
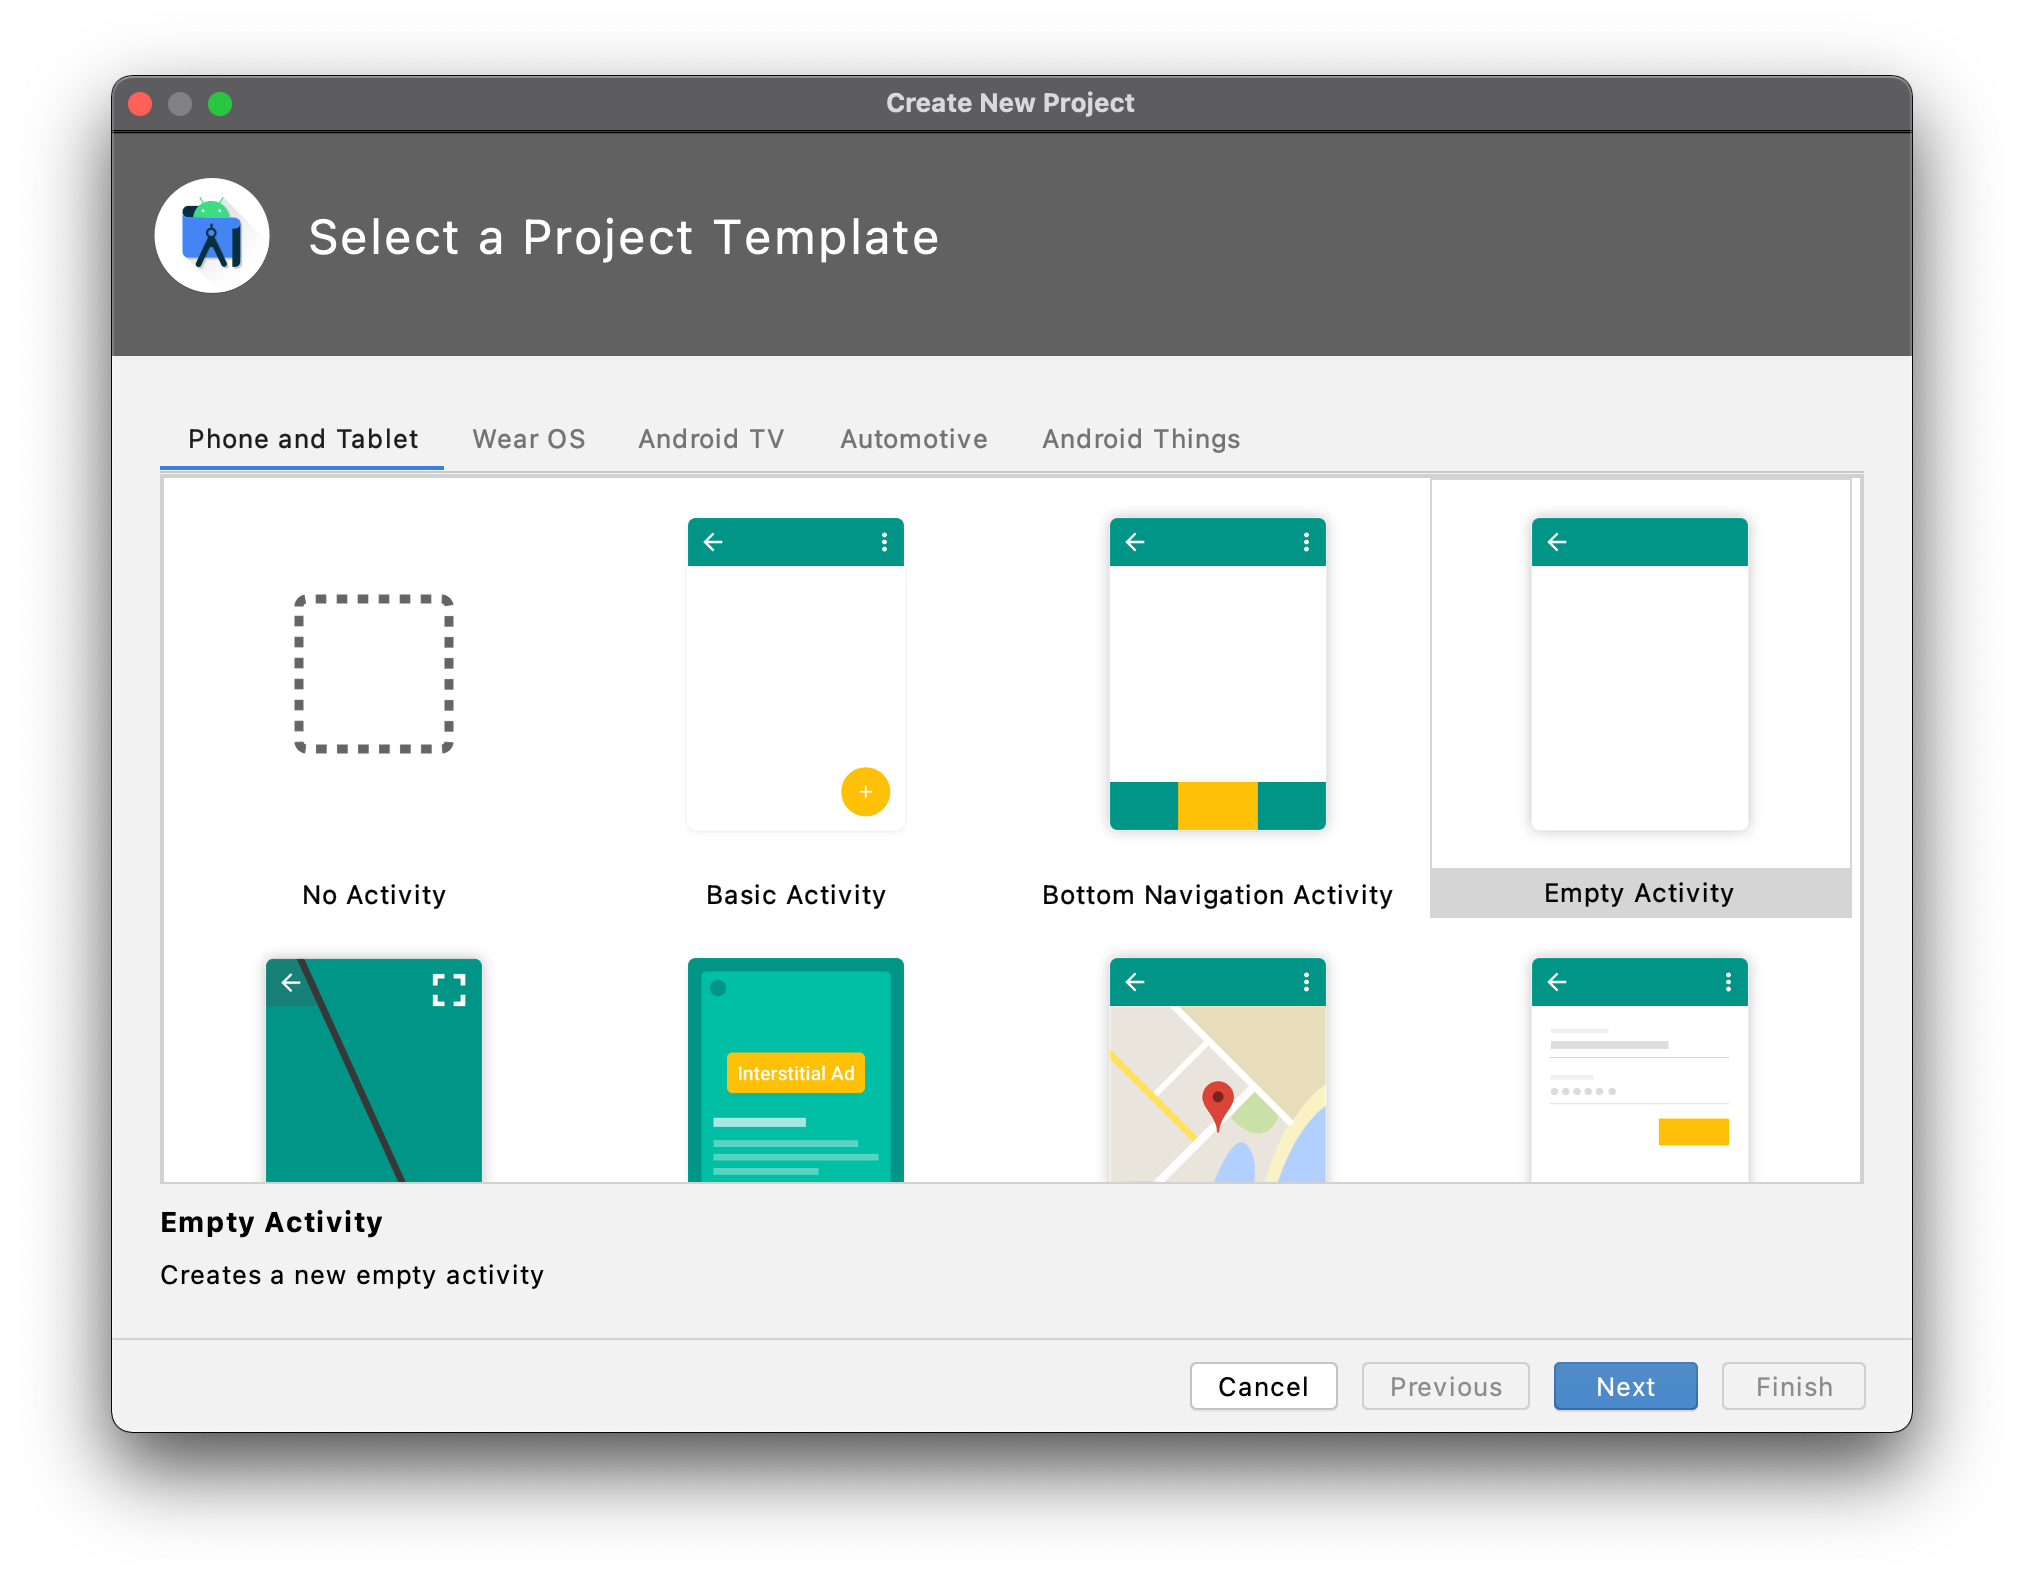
In the Select a Project Template window, select Empty Activity and click Next.
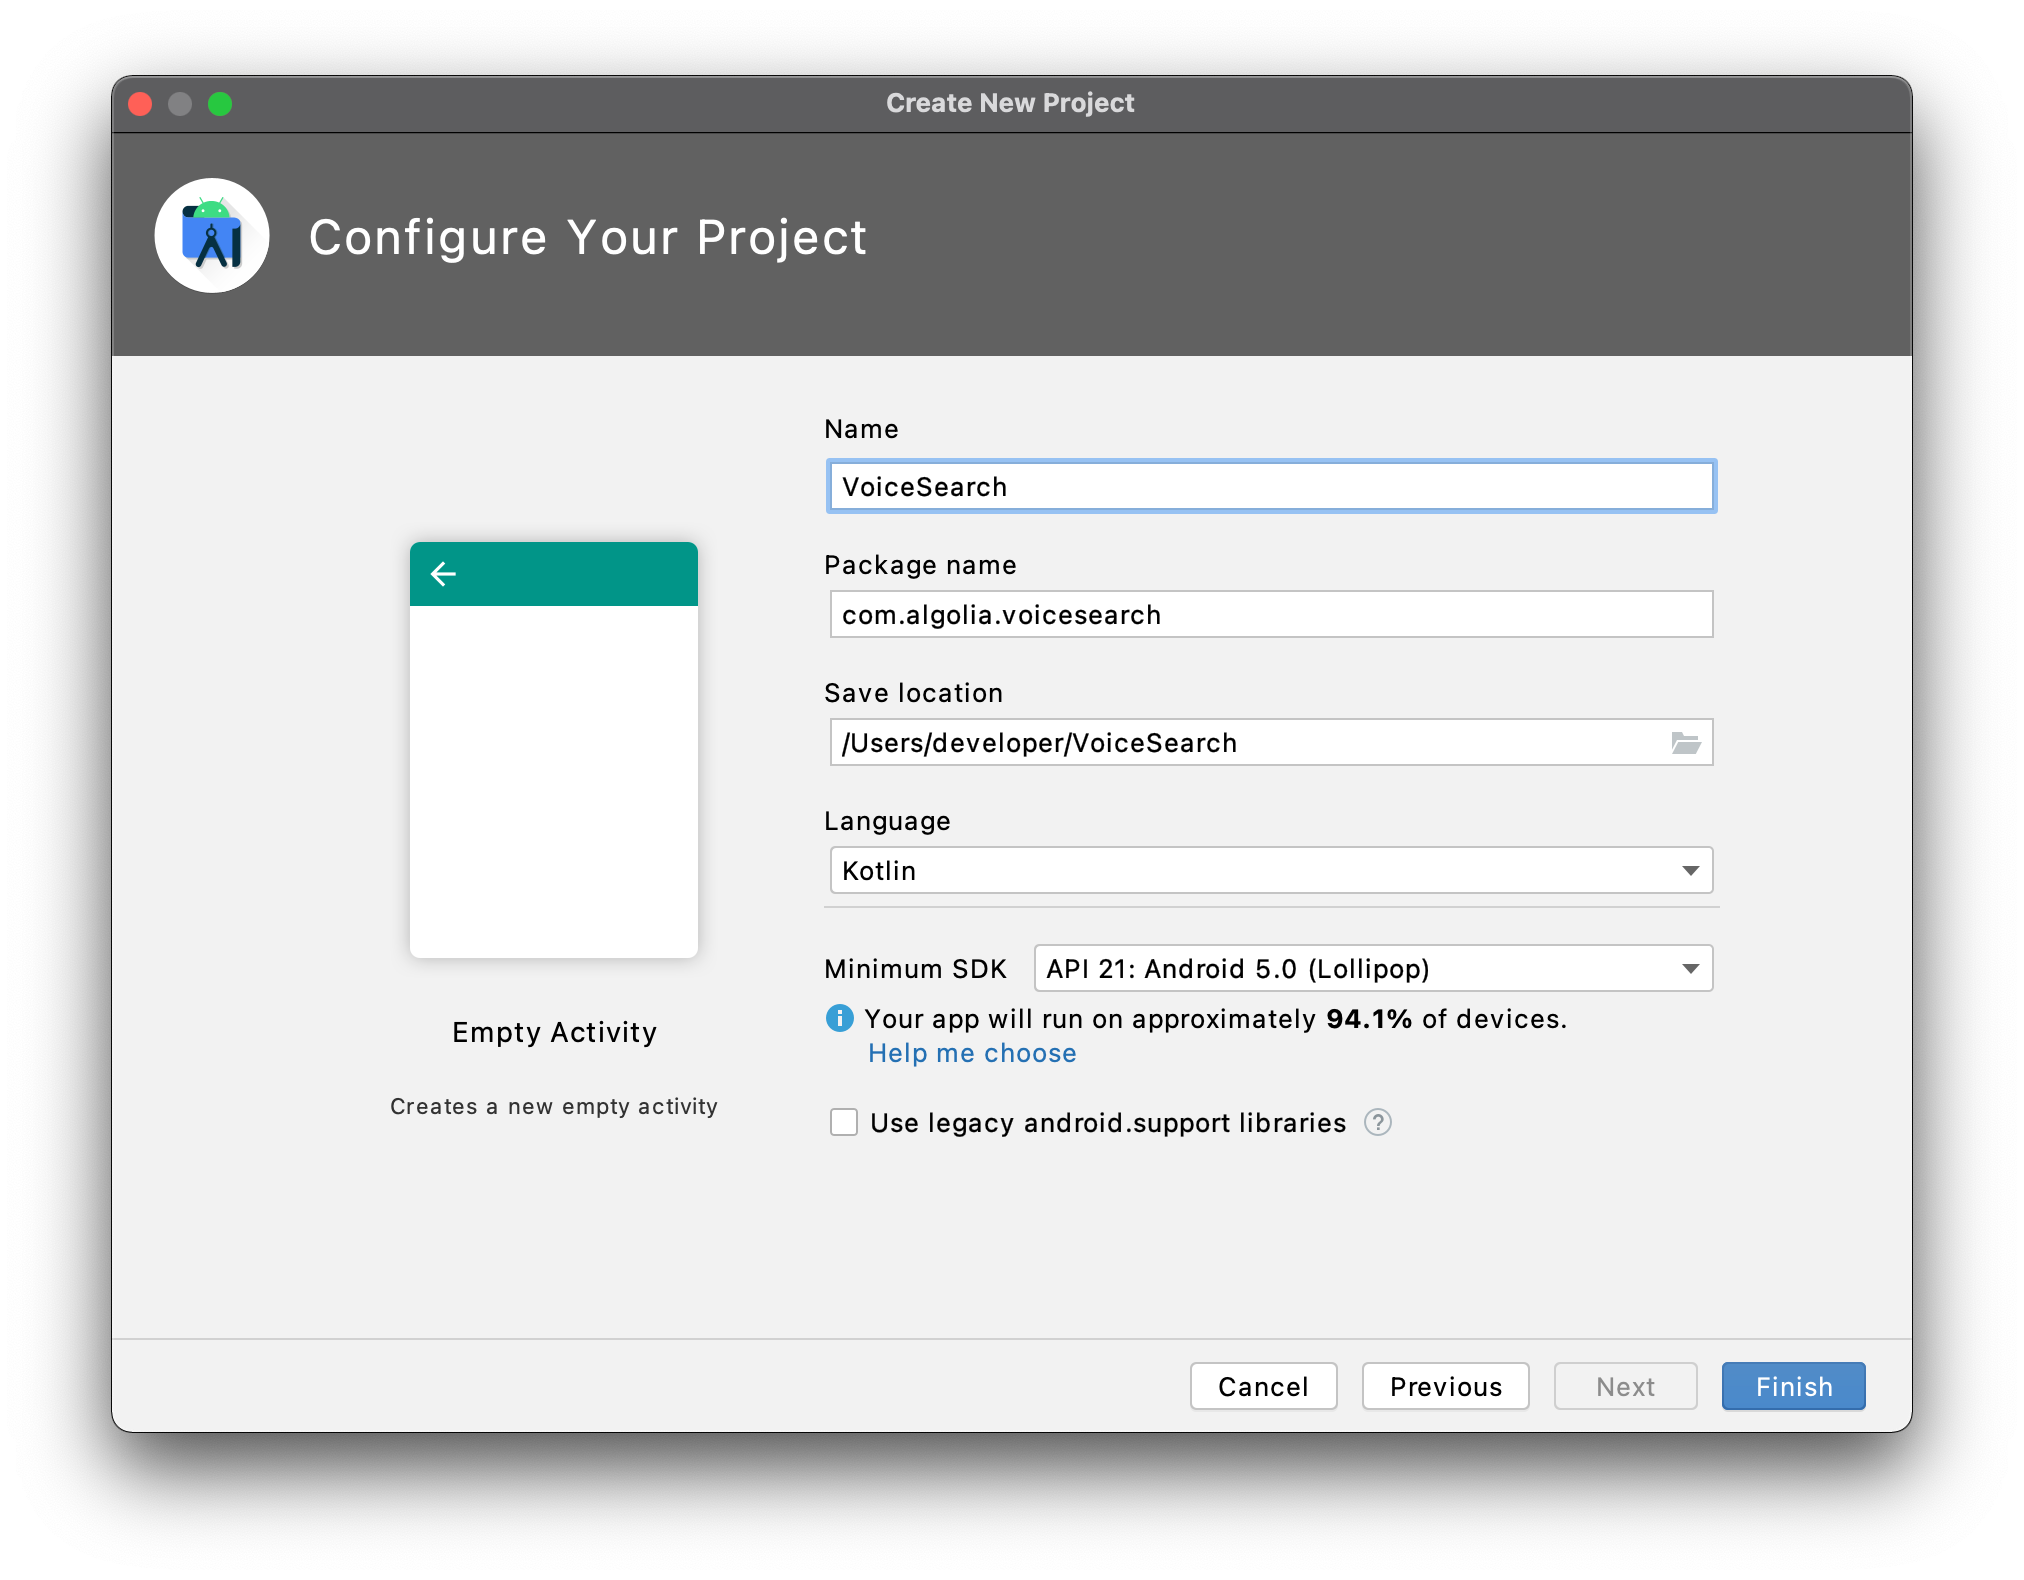
Input the name of your application. Select API 21 as minimum SDK version. Click Finish.
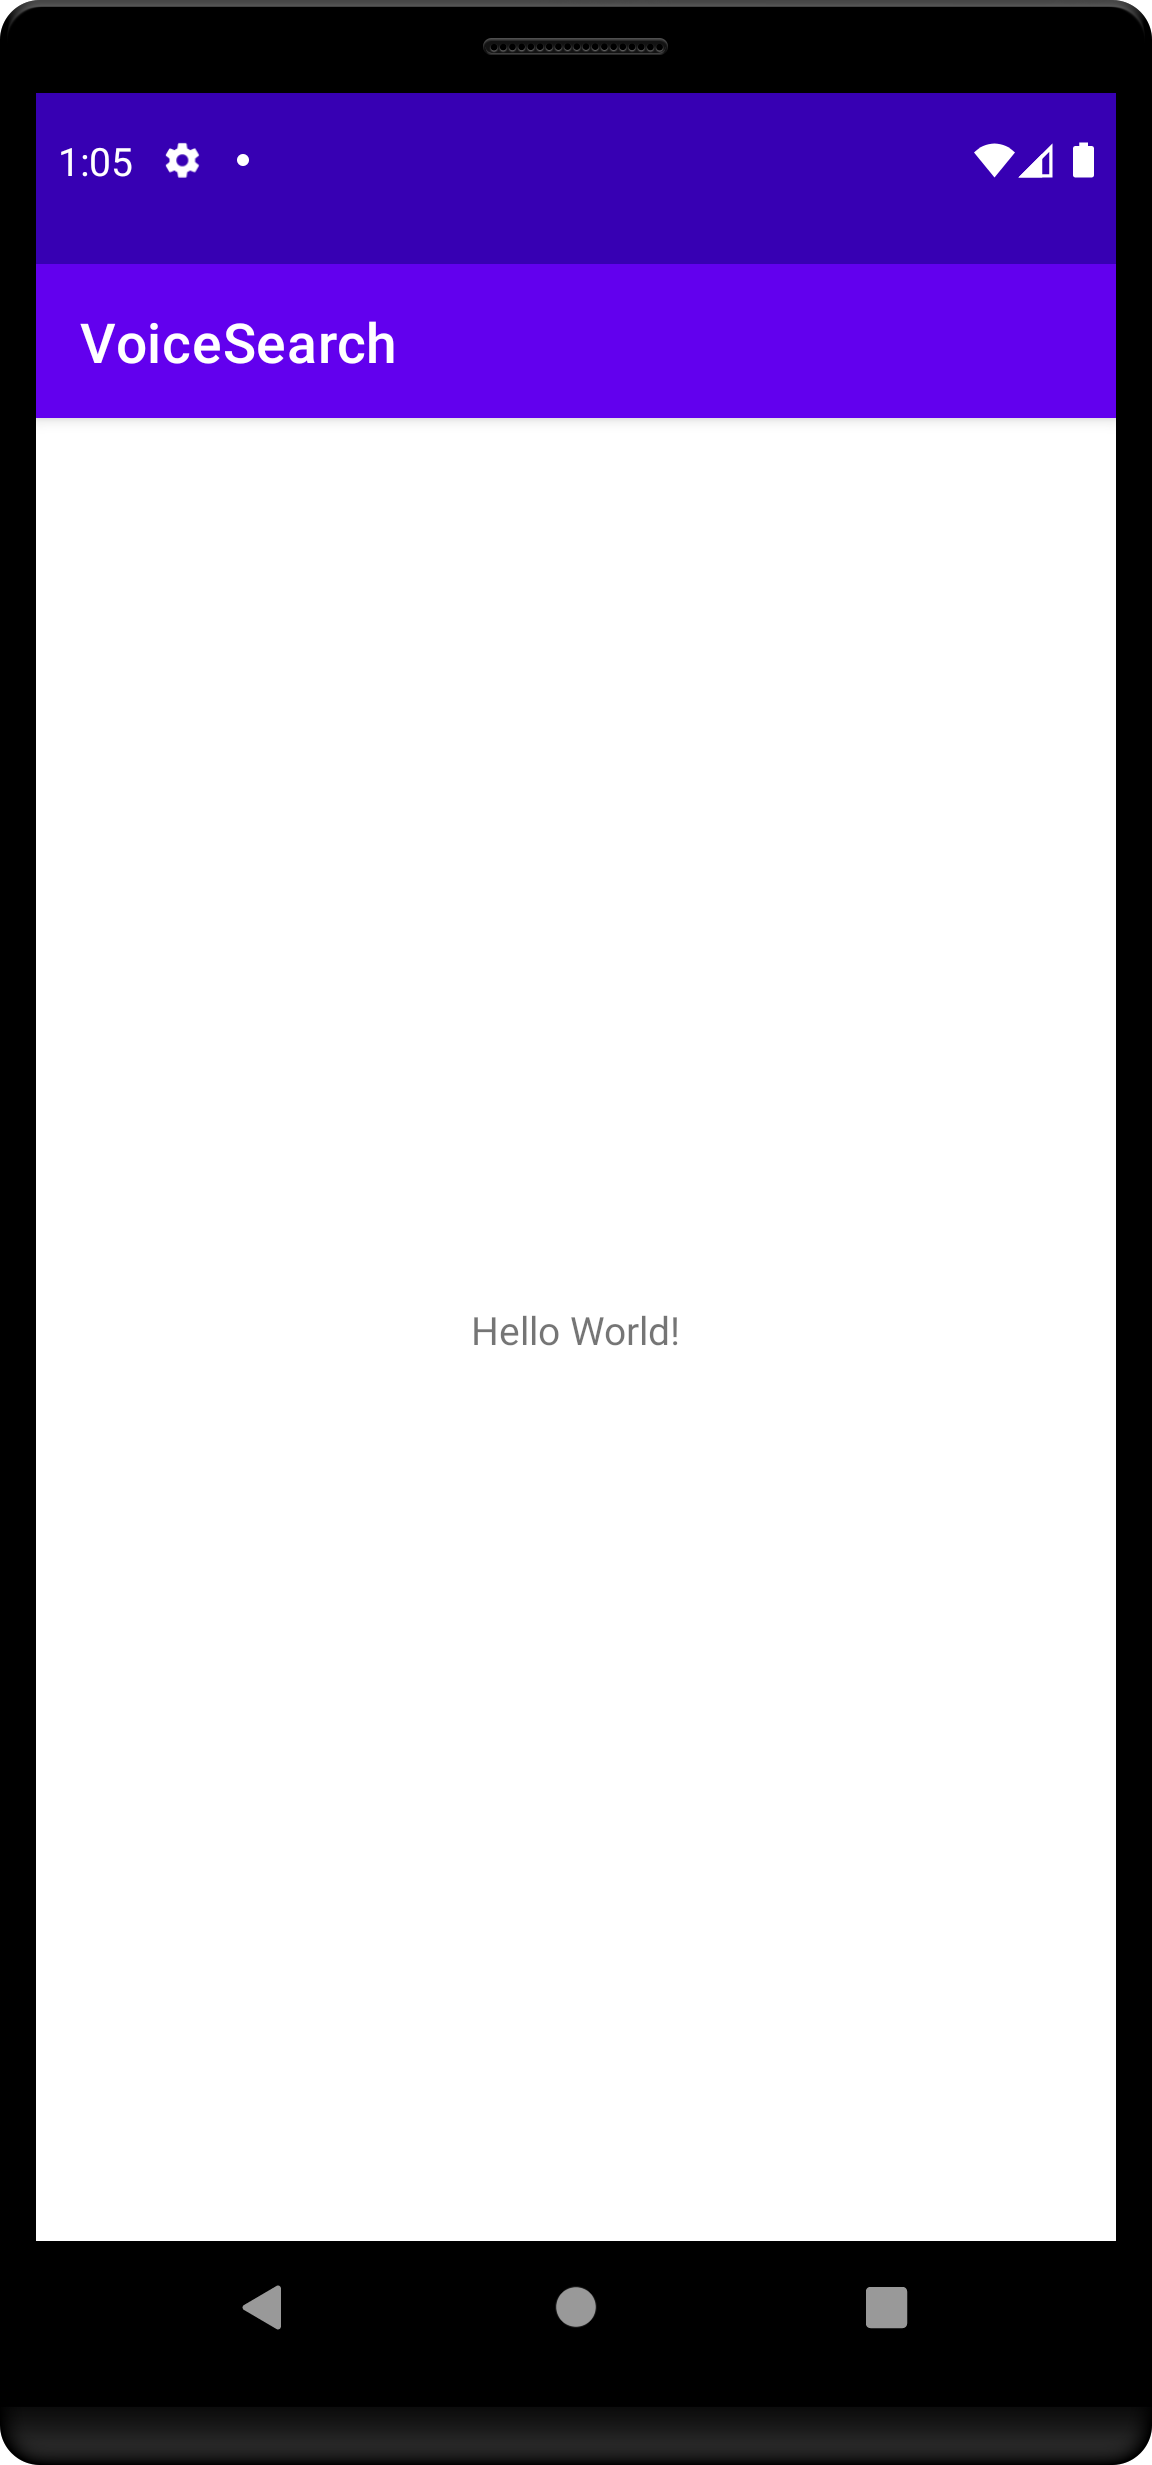
Build and run your application. You should see your app with blank screen.
Add project dependencies
In your build.gradle file at the project level, add mavenCentral() as a dependency repository in the repositories blocks:
1
2
3
4
repositories {
    google()
    mavenCentral()
}
In your build.gradle file under app module, add the following in the dependencies block:
1
2
implementation 'com.algolia:instantsearch-android:3.+'
implementation 'com.algolia.instantsearch:voice:1.+'
To perform network operations in your application, AndroidManifest.xml must include the following permissions:
1
<uses-permission android:name="android.permission.INTERNET" />
Setup kotlinx.serialization by adding the serialization plugin to your project’s build.gradle:
1
2
3
4
dependencies {
  //...
  classpath "org.jetbrains.kotlin:kotlin-serialization:$kotlin_version"
}
Add serialization plugin to the plugins block to your app’s build.gradle:
1
2
3
4
plugins {
  // ...
  id 'kotlinx-serialization'
}
Create a basic search experience
Start by creating a classic search interface with search bar and results list.
First, create a layout file called list_item.xml under res/layout/.
Add a TextView to display a hit:
1
2
3
4
5
6
7
8
9
10
11
12
13
14
15
16
17
18
19
20
21
22
23
24
<com.google.android.material.card.MaterialCardView xmlns:android="http://schemas.android.com/apk/res/android"
    xmlns:app="http://schemas.android.com/apk/res-auto"
    xmlns:tools="http://schemas.android.com/tools"
    android:layout_width="match_parent"
    android:layout_height="?attr/listPreferredItemHeightSmall"
    android:layout_marginBottom="0.5dp"
    app:cardCornerRadius="0dp"
    tools:layout_height="50dp">

    <TextView
        android:id="@+id/hit"
        style="@style/TextAppearance.MaterialComponents.Body1"
        android:layout_width="wrap_content"
        android:layout_height="wrap_content"
        android:layout_gravity="center_vertical"
        android:layout_marginHorizontal="16dp"
        android:maxLines="1"
        app:layout_constraintBottom_toBottomOf="parent"
        app:layout_constraintEnd_toEndOf="parent"
        app:layout_constraintStart_toStartOf="parent"
        app:layout_constraintTop_toTopOf="parent"
        tools:text="@tools:sample/lorem/random" />

</com.google.android.material.card.MaterialCardView>
Update your layout file activity_main.xml to have a minimal set of components for a basic search experience:
SearchView: view for textual query inputRecyclerView: the list of search results
1
2
3
4
5
6
7
8
9
10
11
12
13
14
15
16
17
18
19
20
21
22
23
24
25
26
27
28
29
30
31
32
33
34
<androidx.constraintlayout.widget.ConstraintLayout xmlns:android="http://schemas.android.com/apk/res/android"
    xmlns:app="http://schemas.android.com/apk/res-auto"
    xmlns:tools="http://schemas.android.com/tools"
    android:layout_width="match_parent"
    android:layout_height="match_parent"
    tools:context=".MainActivity">

    <androidx.appcompat.widget.SearchView
        android:id="@+id/searchView"
        android:layout_width="0dp"
        android:layout_height="wrap_content"
        android:background="@color/white"
        android:elevation="6dp"
        app:iconifiedByDefault="false"
        app:layout_constraintEnd_toEndOf="parent"
        app:layout_constraintStart_toStartOf="parent"
        app:layout_constraintTop_toTopOf="parent"
        app:queryBackground="@android:color/transparent"
        app:queryHint="Search for products"
        app:voiceIcon="@drawable/ic_microphone" />

    <androidx.recyclerview.widget.RecyclerView
        android:id="@+id/hits"
        android:layout_width="0dp"
        android:layout_height="0dp"
        app:layoutManager="LinearLayoutManager"
        app:layout_constraintBottom_toBottomOf="parent"
        app:layout_constraintEnd_toEndOf="parent"
        app:layout_constraintStart_toStartOf="parent"
        app:layout_constraintTop_toBottomOf="@+id/searchView"
        tools:itemCount="100"
        tools:listitem="@layout/list_item" />

</androidx.constraintlayout.widget.ConstraintLayout>
The view is ready, it’s time to work on the search logic. Create a new class Product to hold search results:
1
2
@Serializable
data class Product(override val objectID: ObjectID, val name: String) : Indexable
Create a new class ProductAdapter to render search results:
1
2
3
4
5
6
7
8
9
10
11
12
13
14
15
16
17
18
19
20
21
22
23
24
25
26
27
28
29
30
31
32
33
34
35
36
class ProductAdapter : ListAdapter<Product, ProductAdapter.ProductViewHolder>(ProductAdapter),
  HitsView<Product> {

  override fun onCreateViewHolder(parent: ViewGroup, viewType: Int): ProductViewHolder {
      val view = LayoutInflater.from(parent.context).inflate(R.layout.list_item, parent, false)
      return ProductViewHolder(view)
  }

  override fun onBindViewHolder(holder: ProductViewHolder, position: Int) {
      val product = getItem(position)
      if (product != null) holder.bind(product)
  }

  override fun setHits(hits: List<Product>) {
      submitList(hits)
  }

  companion object : DiffUtil.ItemCallback<Product>() {
      override fun areItemsTheSame(oldItem: Product, newItem: Product): Boolean {
          return oldItem.objectID == newItem.objectID
      }

      override fun areContentsTheSame(oldItem: Product, newItem: Product): Boolean {
          return oldItem == newItem
      }
  }

  class ProductViewHolder(view: View) : RecyclerView.ViewHolder(view) {

      private val hit = view.findViewById<TextView>(R.id.hit)

      fun bind(product: Product) {
          hit.text = product.name
      }
  }
}
In your MainActivity use the SearchBox and Hits widgets:
1
2
3
4
5
6
7
8
9
10
11
12
13
14
15
16
17
18
19
20
21
22
23
24
25
26
27
28
29
30
31
32
33
34
class MainActivity : AppCompatActivity() {

    val searcher = HitsSearcher(
        applicationID = ApplicationID("latency"),
        apiKey = APIKey("1f6fd3a6fb973cb08419fe7d288fa4db"),
        indexName = IndexName("instant_search")
    )
    val searchBox = SearchBoxConnector(searcher, searchMode = SearchMode.AsYouType)
    val connection = ConnectionHandler(searchBox)

    override fun onCreate(savedInstanceState: Bundle?) {
        super.onCreate(savedInstanceState)
        setContentView(R.layout.activity_main)
        // Setup SearchBox widget
        val searchView = findViewById<SearchView>(R.id.searchView)
        val searchBoxView = SearchBoxViewAppCompat(searchView)
        connection += searchBox.connectView(searchBoxView)
        // Setup Hits widget
        val hits = findViewById<RecyclerView>(R.id.hits)
        val productAdapter = ProductAdapter()
        hits.adapter = productAdapter
        connection += searcher.connectHitsView(productAdapter) { response ->
            response.hits.deserialize(Product.serializer())
        }
        // Initial search
        searcher.searchAsync()
    }

    override fun onDestroy() {
        super.onDestroy()
        searcher.cancel()
        connection.clear()
    }
}
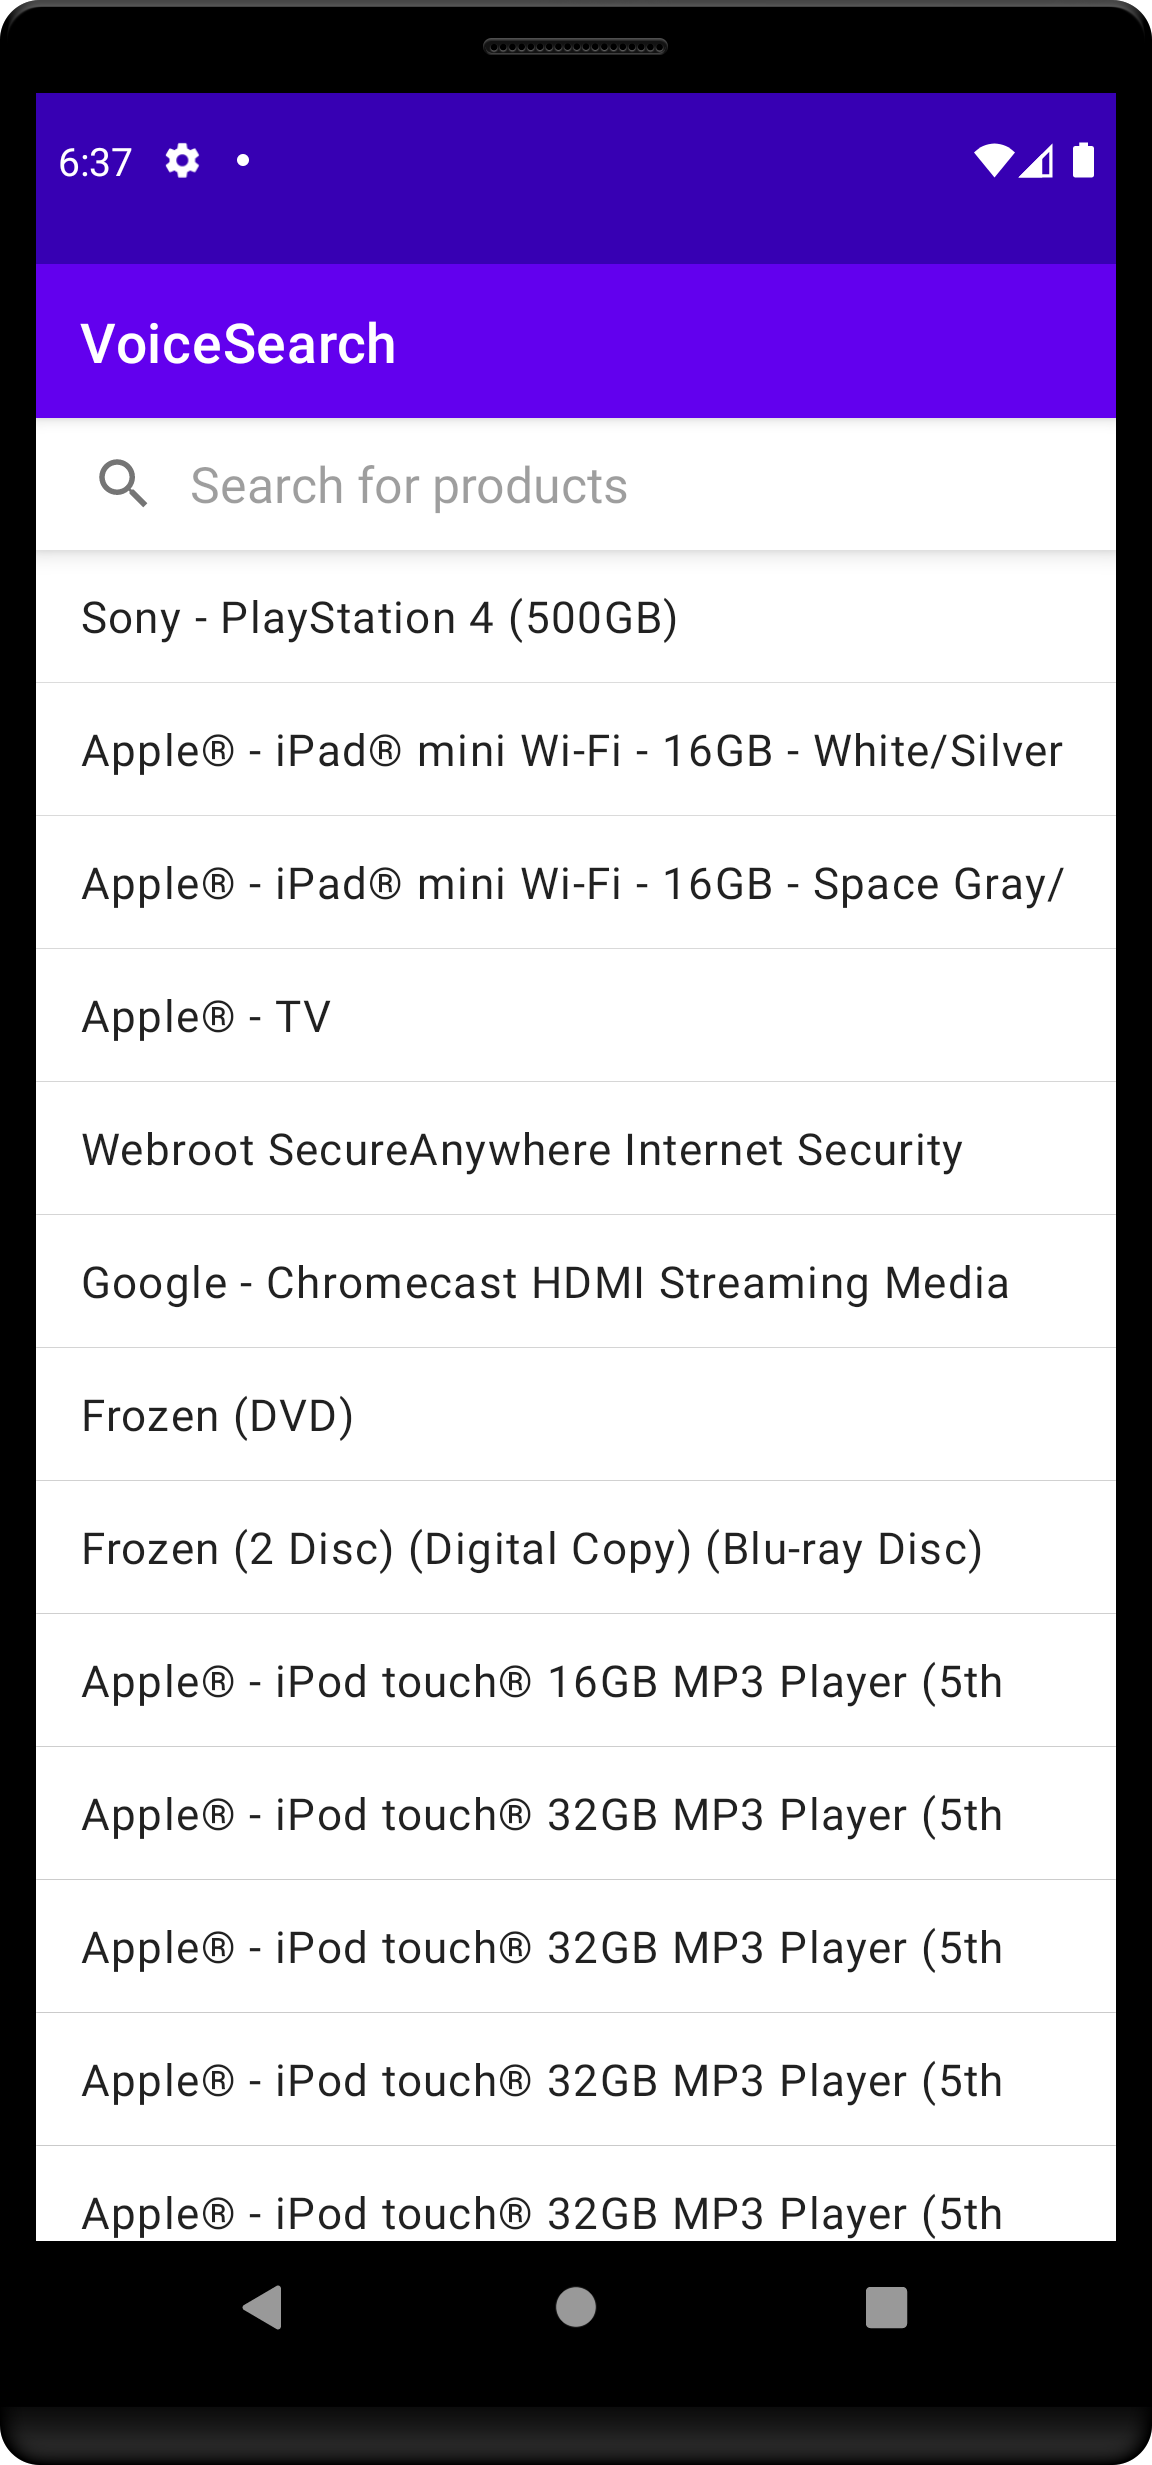
Build and run your application. The basic search experience is ready: you can type your search query and get instant results.
Create a voice search experience
This is a two-step process:
- Prepare the project for voice input and speech recognition.
- Add a button on the right of the search bar that triggers the voice input.
Setup audio permission
Add RECORD_AUDIO permission to AndroidManifest.xml file:
1
<uses-permission android:name="android.permission.RECORD_AUDIO"/>
Add voice input UI
Change activity_main.xml to add the new voice input button to the existing UI.
The updated layout file should look as follows:
1
2
3
4
5
6
7
8
9
10
11
12
13
14
15
16
17
18
19
20
21
22
23
24
25
26
27
28
29
30
31
32
33
34
35
36
37
38
39
40
41
42
43
44
45
46
47
48
<androidx.constraintlayout.widget.ConstraintLayout xmlns:android="http://schemas.android.com/apk/res/android"
    xmlns:app="http://schemas.android.com/apk/res-auto"
    xmlns:tools="http://schemas.android.com/tools"
    android:layout_width="match_parent"
    android:layout_height="match_parent"
    tools:context=".MainActivity">

    <androidx.appcompat.widget.SearchView
        android:id="@+id/searchView"
        android:layout_width="0dp"
        android:layout_height="wrap_content"
        android:background="@color/white"
        android:elevation="6dp"
        android:focusable="false"
        app:iconifiedByDefault="false"
        app:layout_constraintEnd_toStartOf="@+id/microphone"
        app:layout_constraintStart_toStartOf="parent"
        app:layout_constraintTop_toTopOf="parent"
        app:queryBackground="@android:color/transparent"
        app:queryHint="Search for products"
        app:voiceIcon="@drawable/ic_microphone" />

    <ImageView
        android:id="@+id/microphone"
        android:layout_width="wrap_content"
        android:layout_height="0dp"
        android:background="@color/white"
        android:elevation="6dp"
        android:padding="4dp"
        app:layout_constraintBottom_toBottomOf="@+id/searchView"
        app:layout_constraintEnd_toEndOf="parent"
        app:layout_constraintTop_toTopOf="@+id/searchView"
        app:srcCompat="@drawable/ic_microphone"
        app:tint="@color/blue_dark" />

    <androidx.recyclerview.widget.RecyclerView
        android:id="@+id/hits"
        android:layout_width="0dp"
        android:layout_height="0dp"
        app:layoutManager="LinearLayoutManager"
        app:layout_constraintBottom_toBottomOf="parent"
        app:layout_constraintEnd_toEndOf="parent"
        app:layout_constraintStart_toStartOf="parent"
        app:layout_constraintTop_toBottomOf="@+id/searchView"
        tools:itemCount="100"
        tools:listitem="@layout/list_item" />

</androidx.constraintlayout.widget.ConstraintLayout>
Add voice input logic
Add a basic implementation of VoiceOverlay:
In the click listener, check if you have the audio permission and show the appropriate dialog:
1
2
3
4
5
6
7
val microphone = findViewById<View>(R.id.microphone)
microphone.setOnClickListener {
    when (isRecordAudioPermissionGranted()) {
        true -> VoiceInputDialogFragment().show(supportFragmentManager, "INPUT")
        false -> VoicePermissionDialogFragment().show(supportFragmentManager, "PERMISSION")
    }
}
Once the user speaks, you get their input back by implementing VoiceSpeechRecognizer.ResultsListener
1
2
3
4
5
6
7
class MainActivity : AppCompatActivity(), VoiceSpeechRecognizer.ResultsListener {
    //...
    override fun onResults(possibleTexts: Array<out String>) {
        val searchView = findViewById<SearchView>(R.id.searchView)
        possibleTexts.firstOrNull()?.let { input -> searchView.setQuery(input, true) }
    }
}
In the end, the code of your MainActivity should look as follows:
1
2
3
4
5
6
7
8
9
10
11
12
13
14
15
16
17
18
19
20
21
22
23
24
25
26
27
28
29
30
31
32
33
34
35
36
37
38
39
40
41
42
43
44
45
46
47
class MainActivity : AppCompatActivity(), VoiceSpeechRecognizer.ResultsListener {

    val searcher = HitsSearcher(
        applicationID = ApplicationID("latency"),
        apiKey = APIKey("1f6fd3a6fb973cb08419fe7d288fa4db"),
        indexName = IndexName("bestbuy")
    )
    val searchBox = SearchBoxConnector(searcher, searchMode = SearchMode.AsYouType)
    val connection = ConnectionHandler(searchBox)

    override fun onCreate(savedInstanceState: Bundle?) {
        super.onCreate(savedInstanceState)
        setContentView(R.layout.activity_main)
        // Setup SearchBox widget
        val searchView = findViewById<SearchView>(R.id.searchView)
        val searchBoxView = SearchBoxViewAppCompat(searchView)
        connection += searchBox.connectView(searchBoxView)
        // Setup Hits widget
        val hits = findViewById<RecyclerView>(R.id.hits)
        val productAdapter = ProductAdapter()
        hits.adapter = productAdapter
        connection += searcher.connectHitsView(productAdapter) { response ->
            response.hits.deserialize(Product.serializer())
        }
        // Setup VoiceOverlay
        val microphone = findViewById<View>(R.id.microphone)
        microphone.setOnClickListener {
            when (isRecordAudioPermissionGranted()) {
                true -> VoiceInputDialogFragment().show(supportFragmentManager, "INPUT")
                false -> VoicePermissionDialogFragment().show(supportFragmentManager, "PERMISSION")
            }
        }
        // Initial search
        searcher.searchAsync()
    }

    override fun onResults(possibleTexts: Array<out String>) {
        val searchView = findViewById<SearchView>(R.id.searchView)
        possibleTexts.firstOrNull()?.let { input -> searchView.setQuery(input, true) }
    }

    override fun onDestroy() {
        super.onDestroy()
        searcher.cancel()
        connection.clear()
    }
}
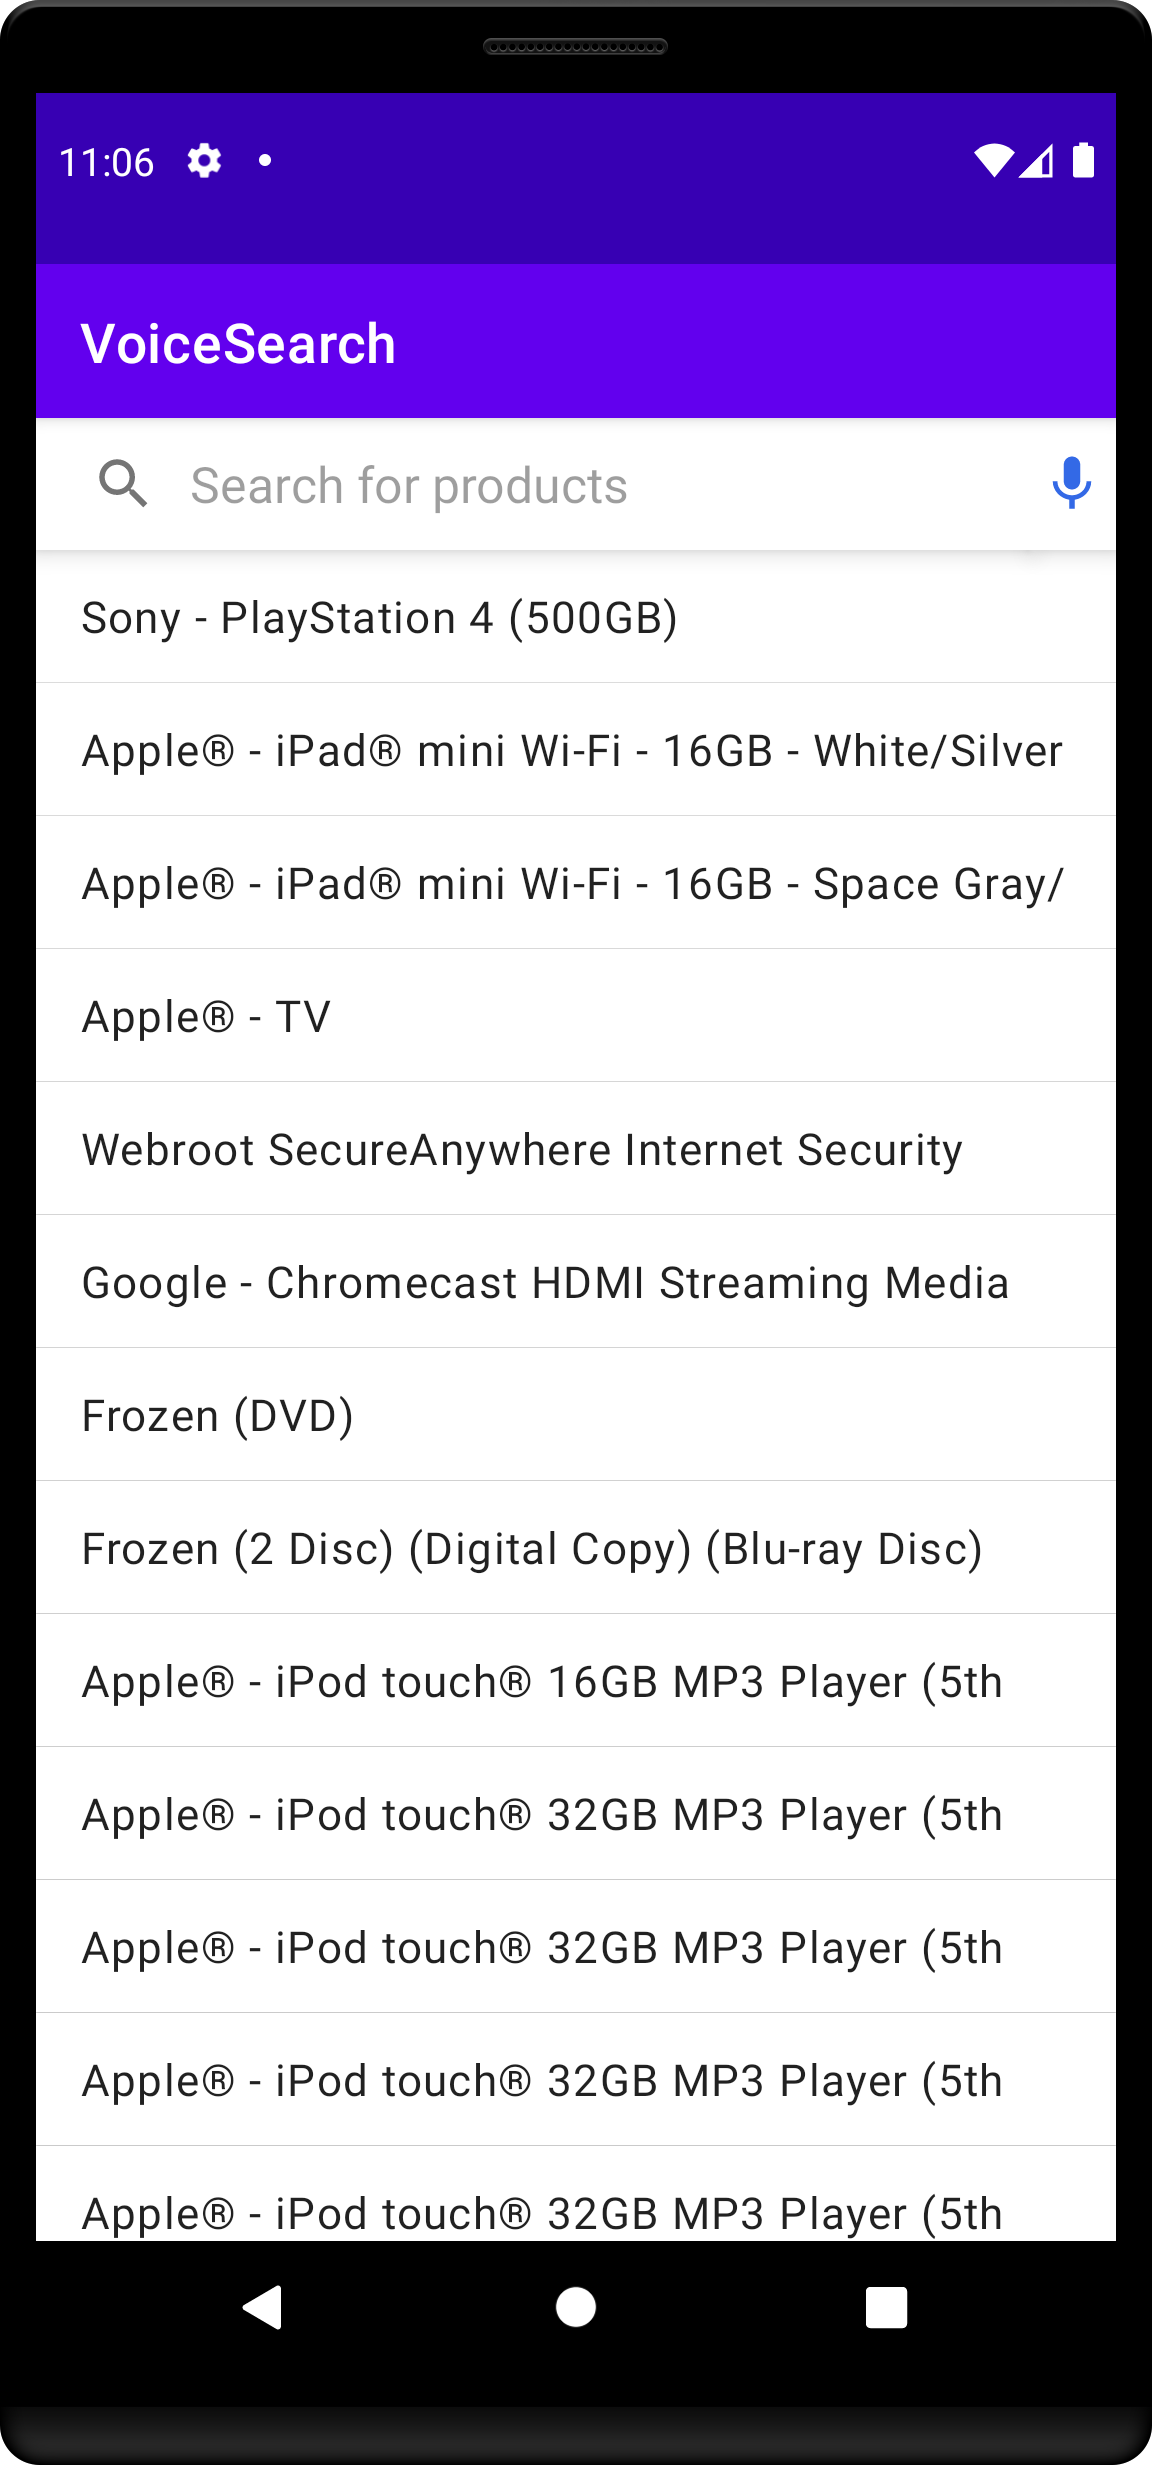
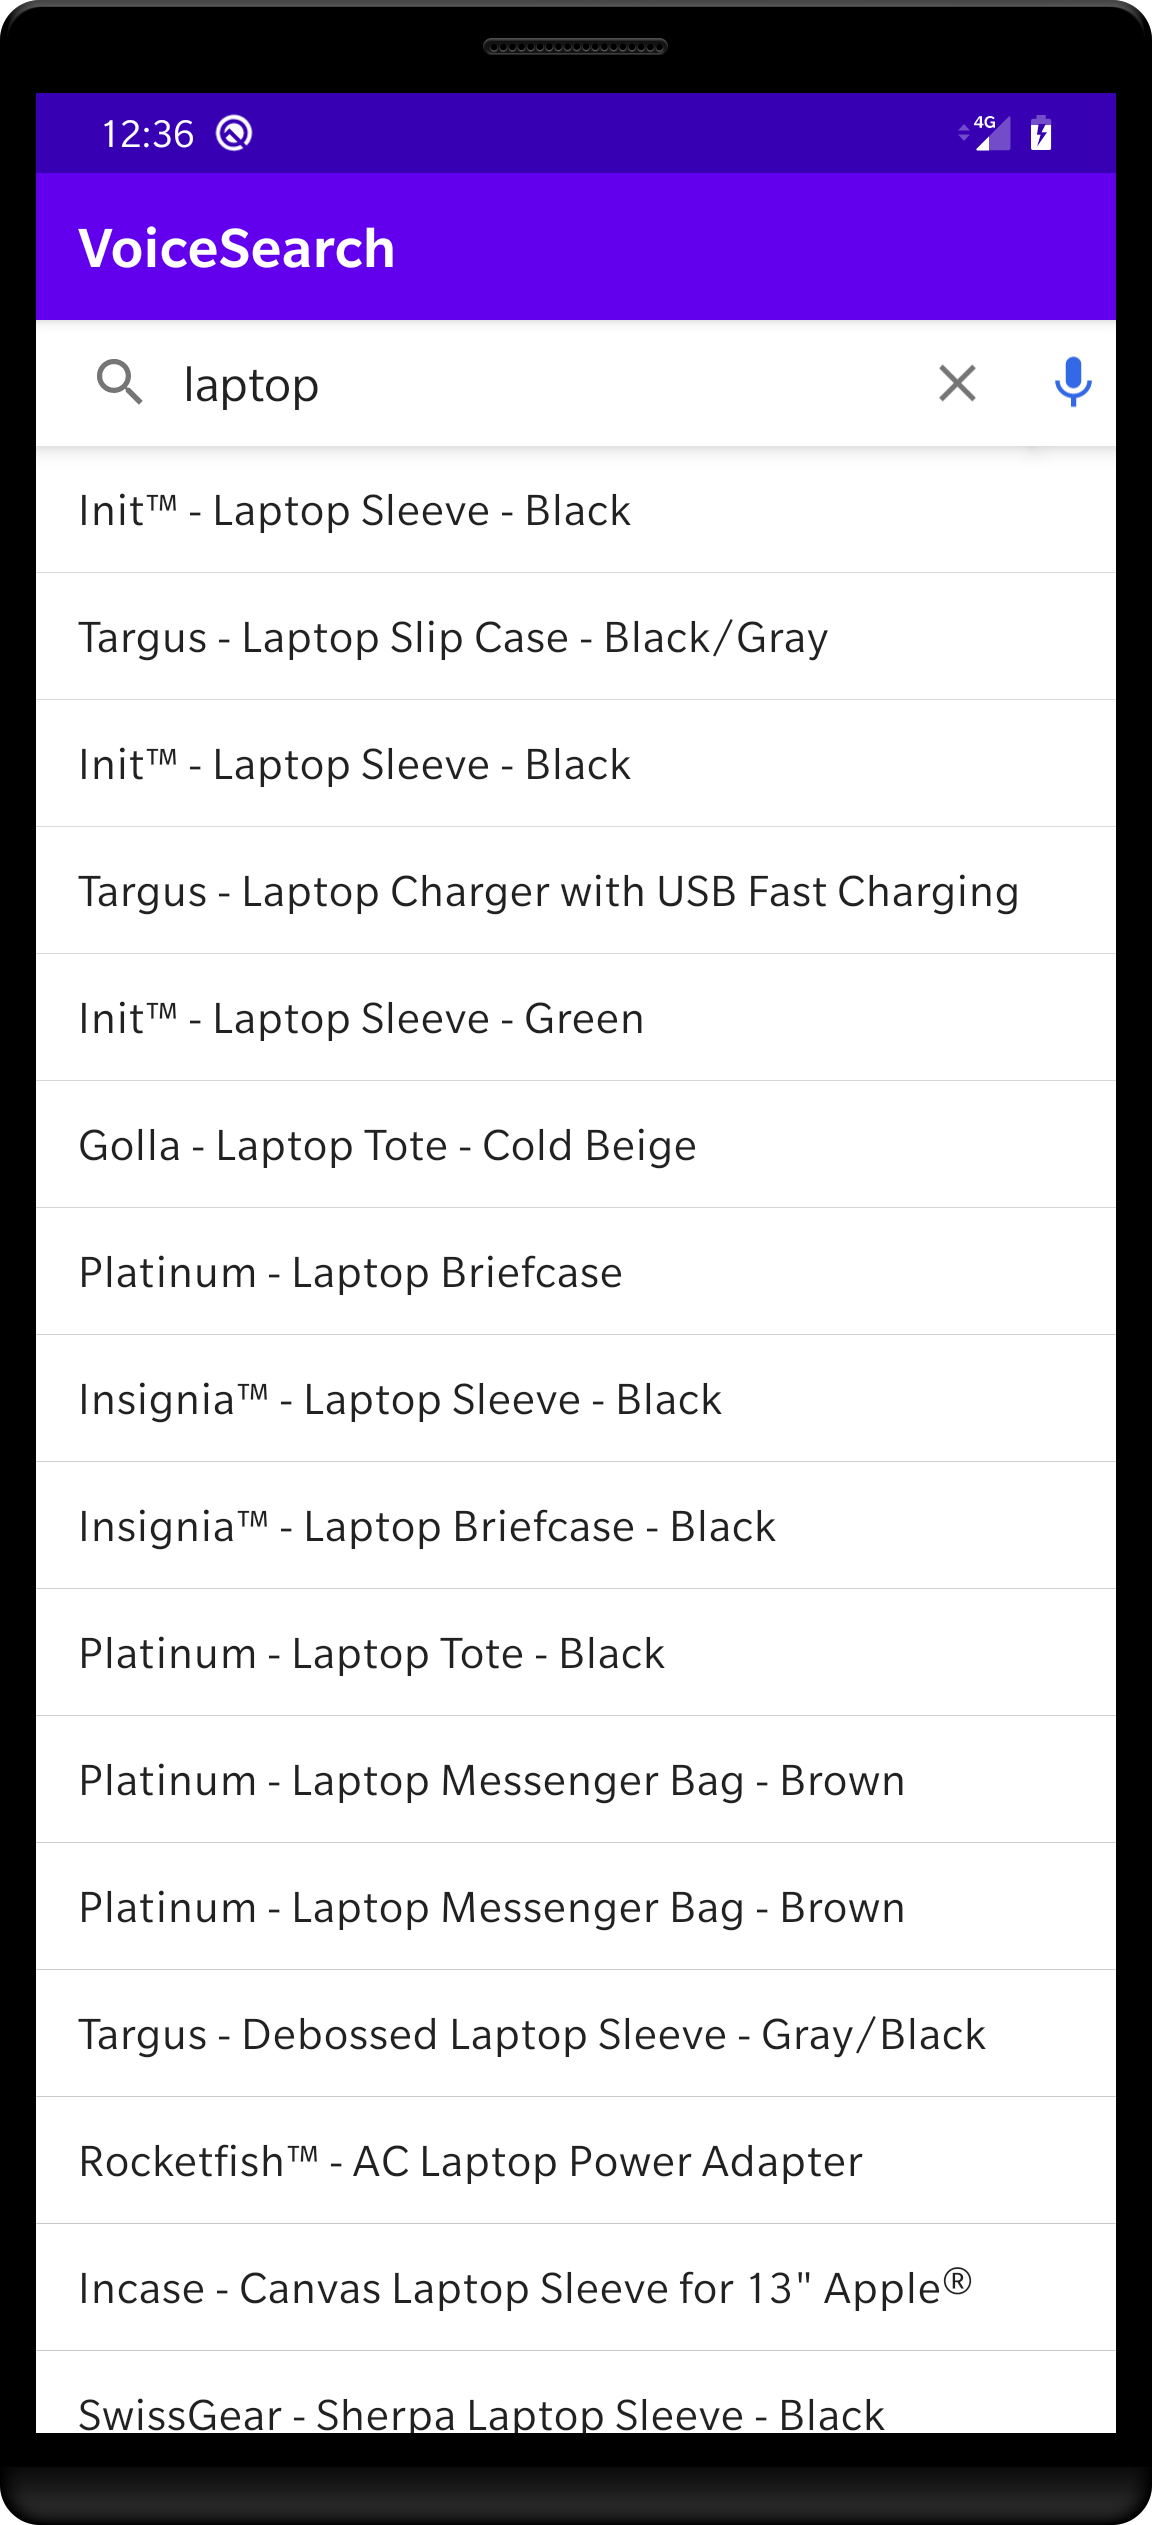
Build and run your application to test your voice search. You should see the voice input button on the right of the search bar.
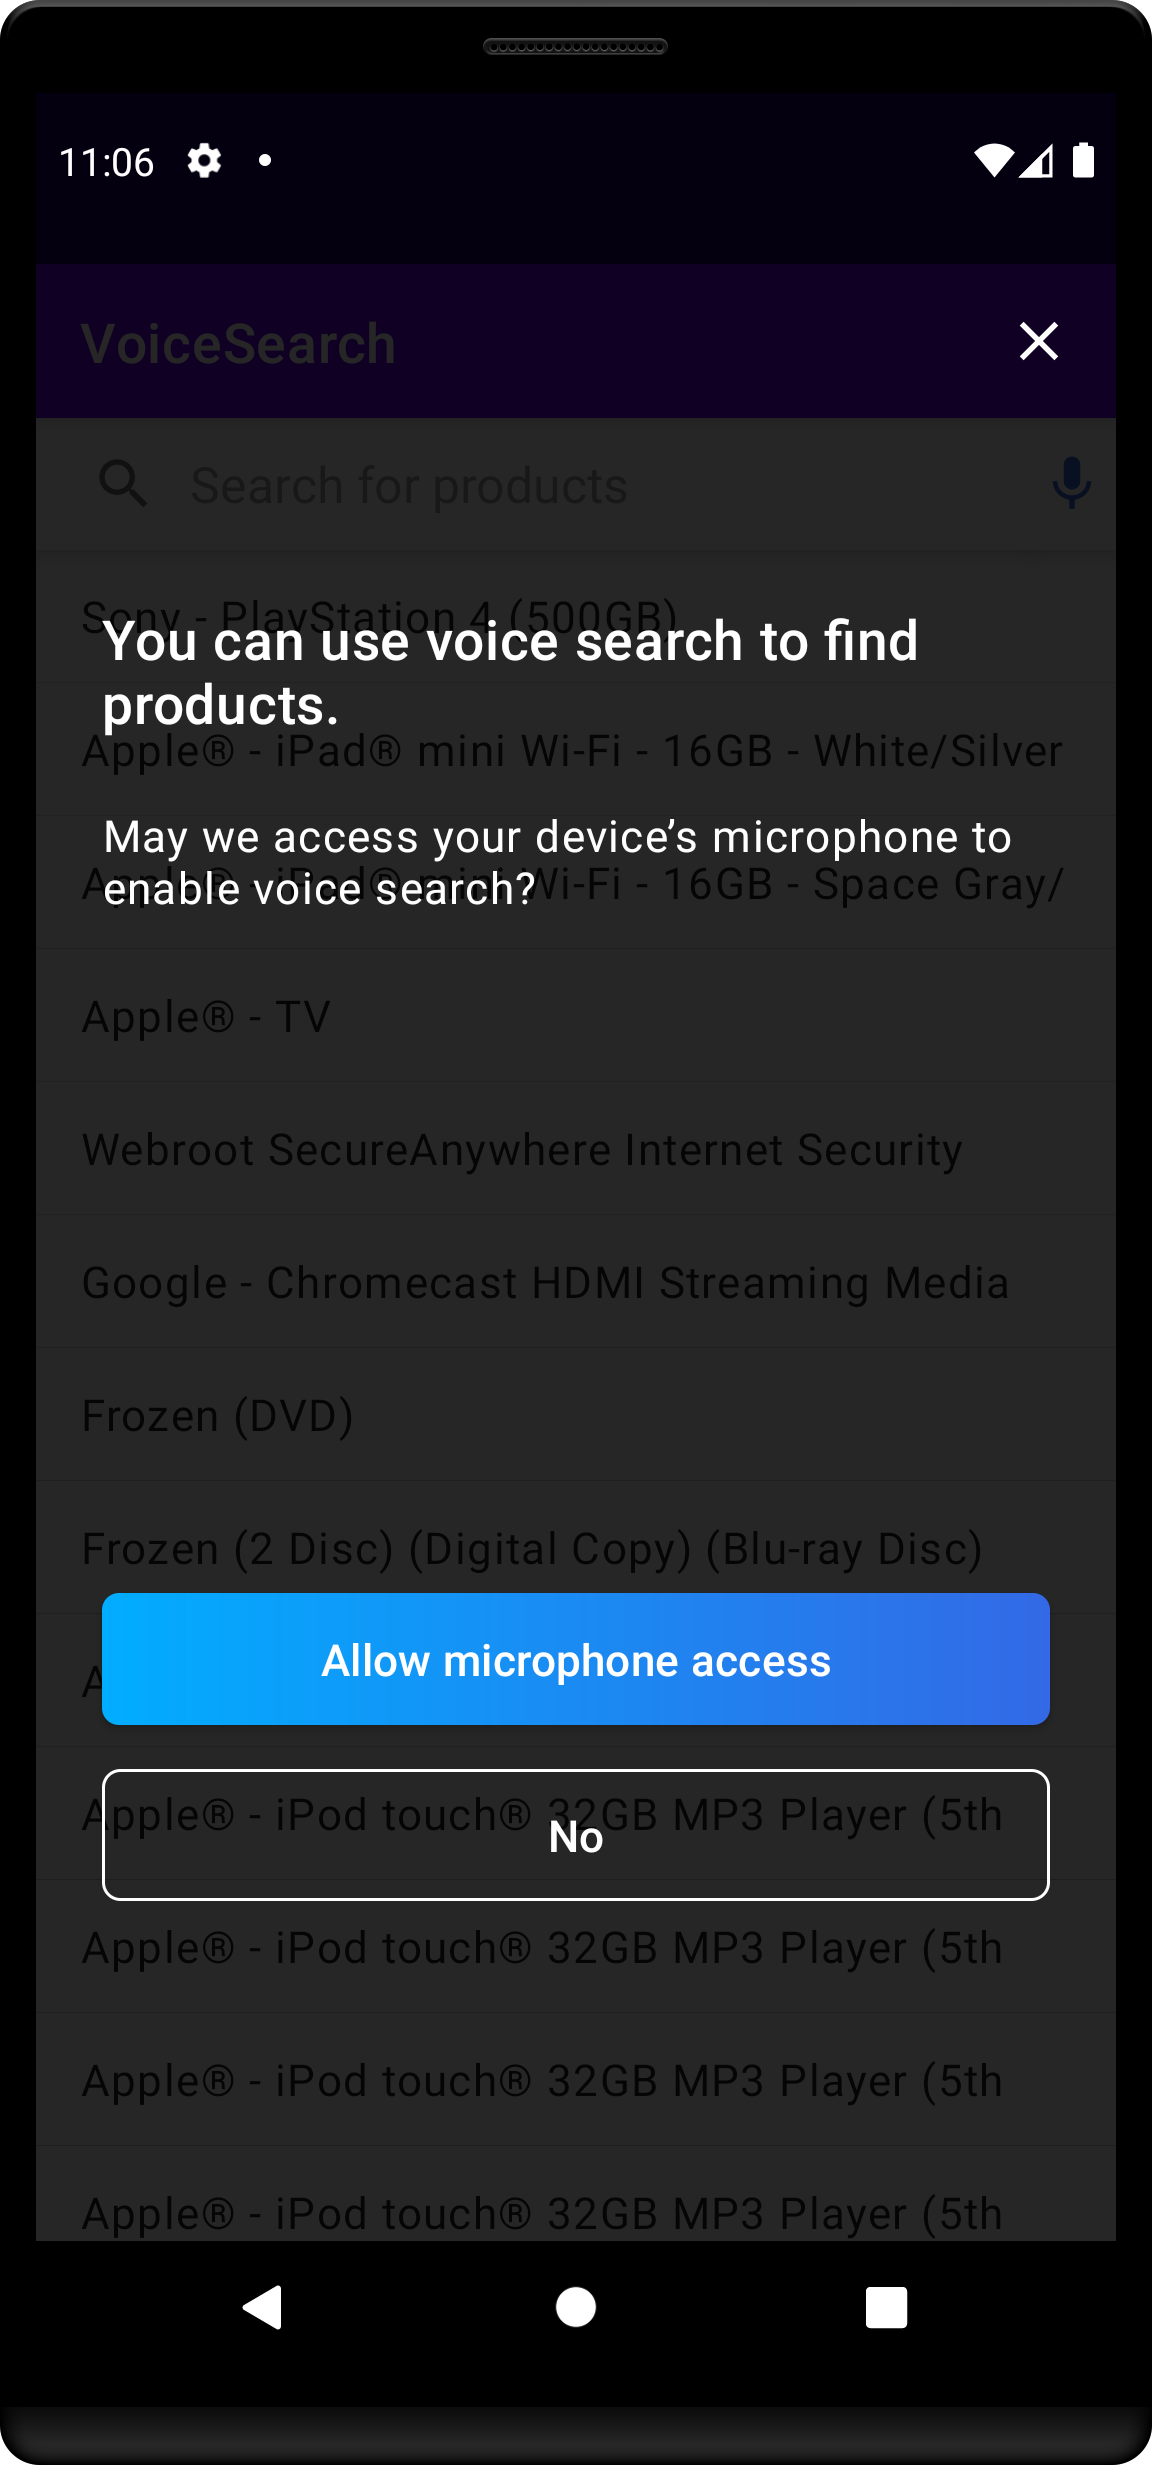
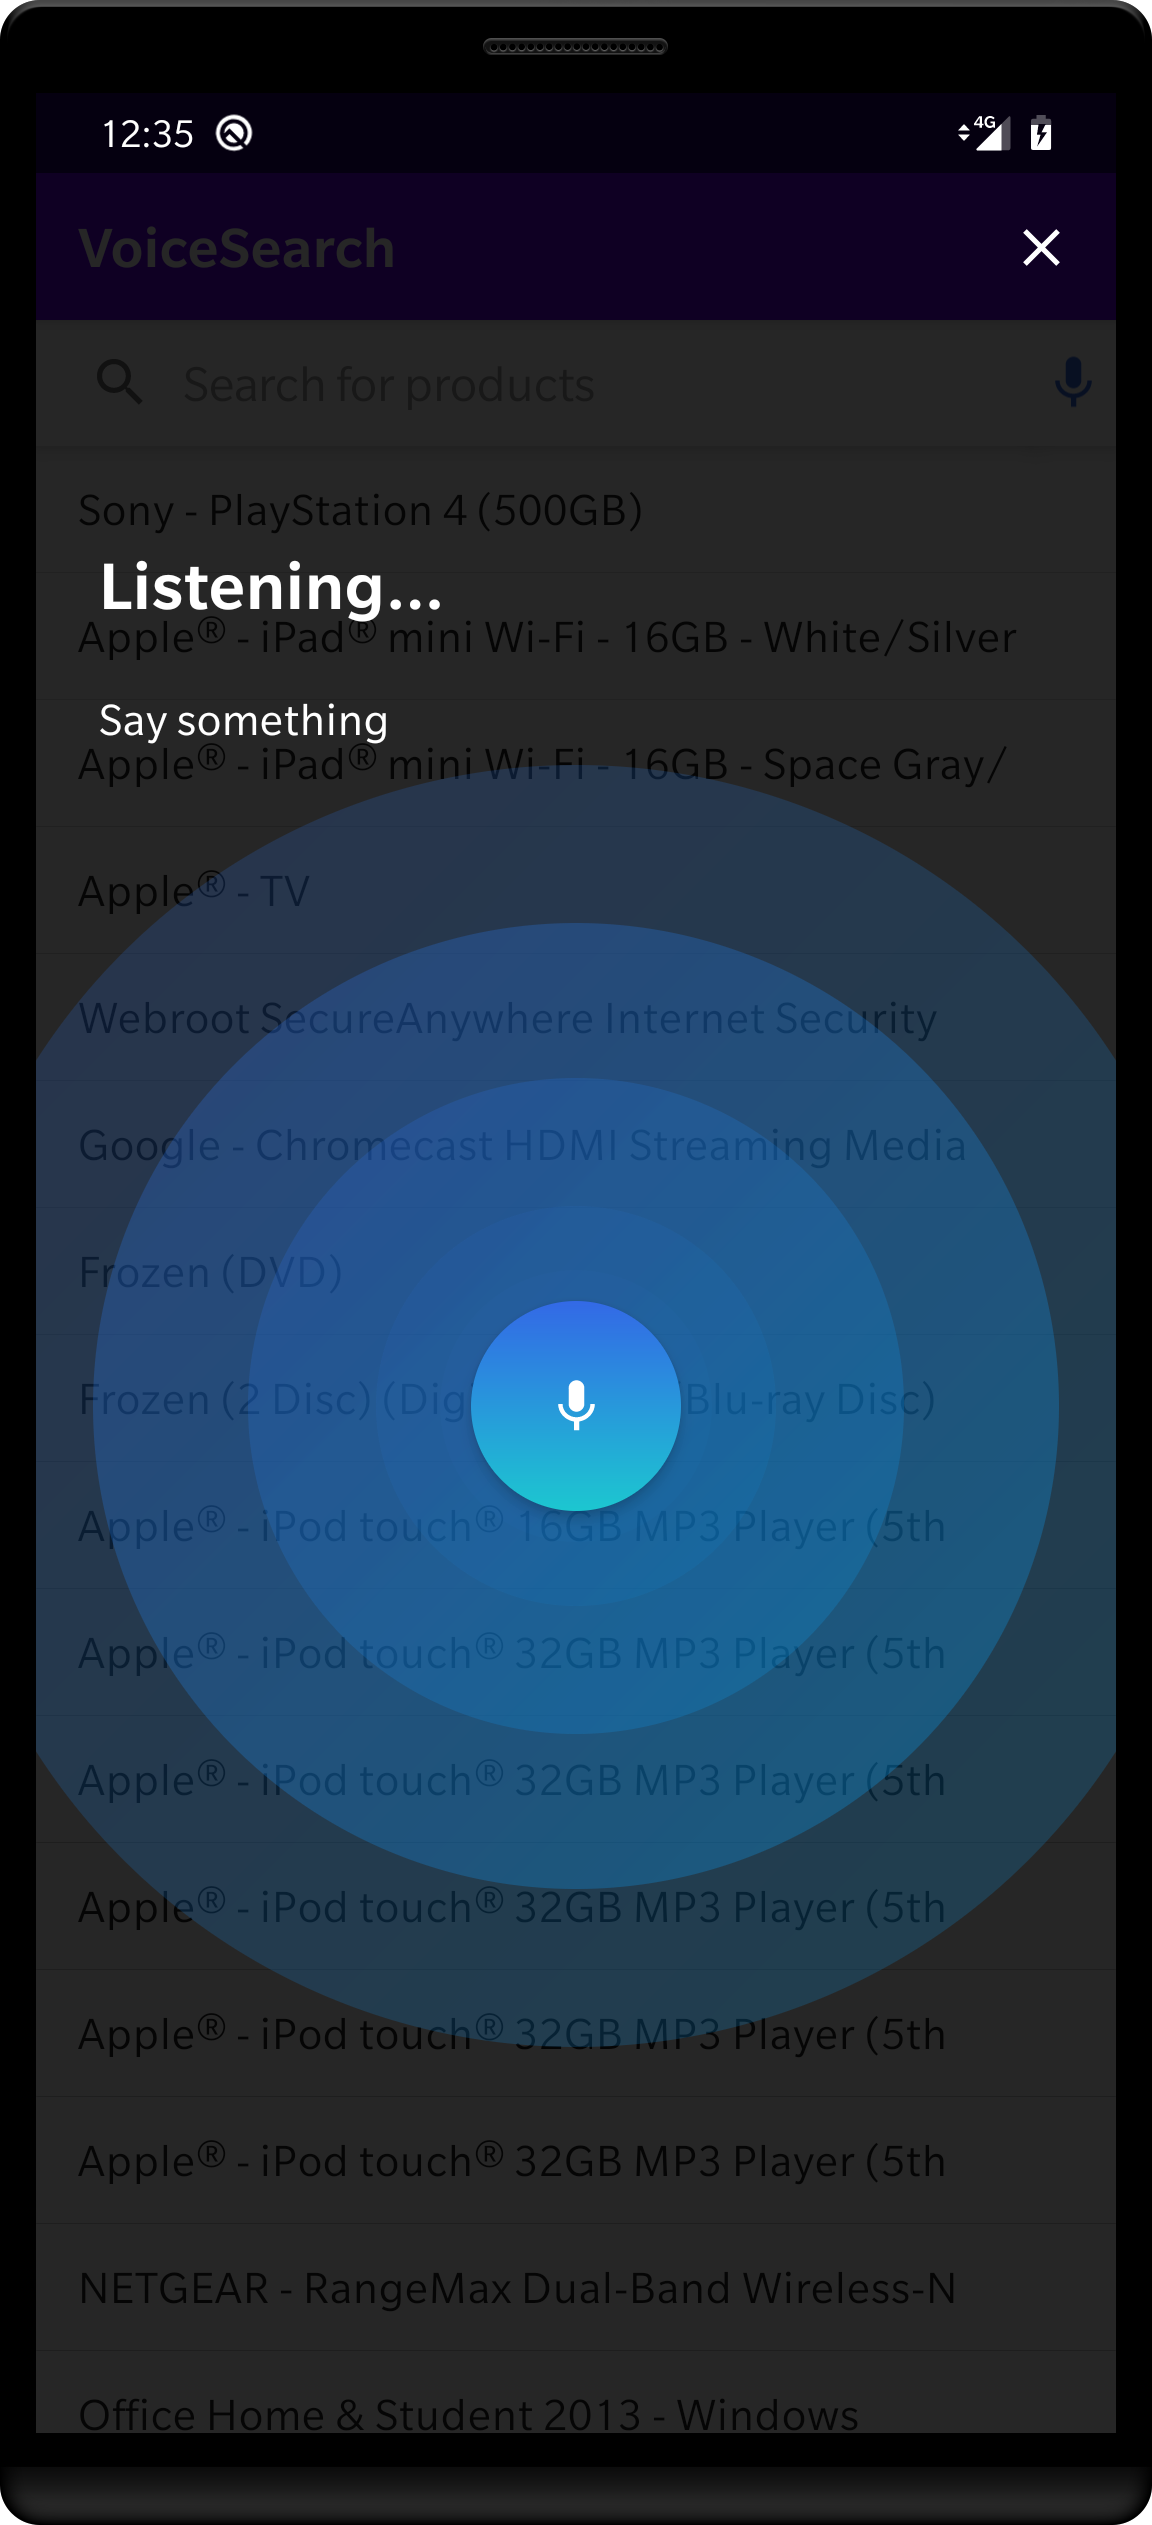
The VoiceOverlay should appear when you tap the voice input button. At the first launch, it asks for the permissions mentioned in the setup audio permission section.
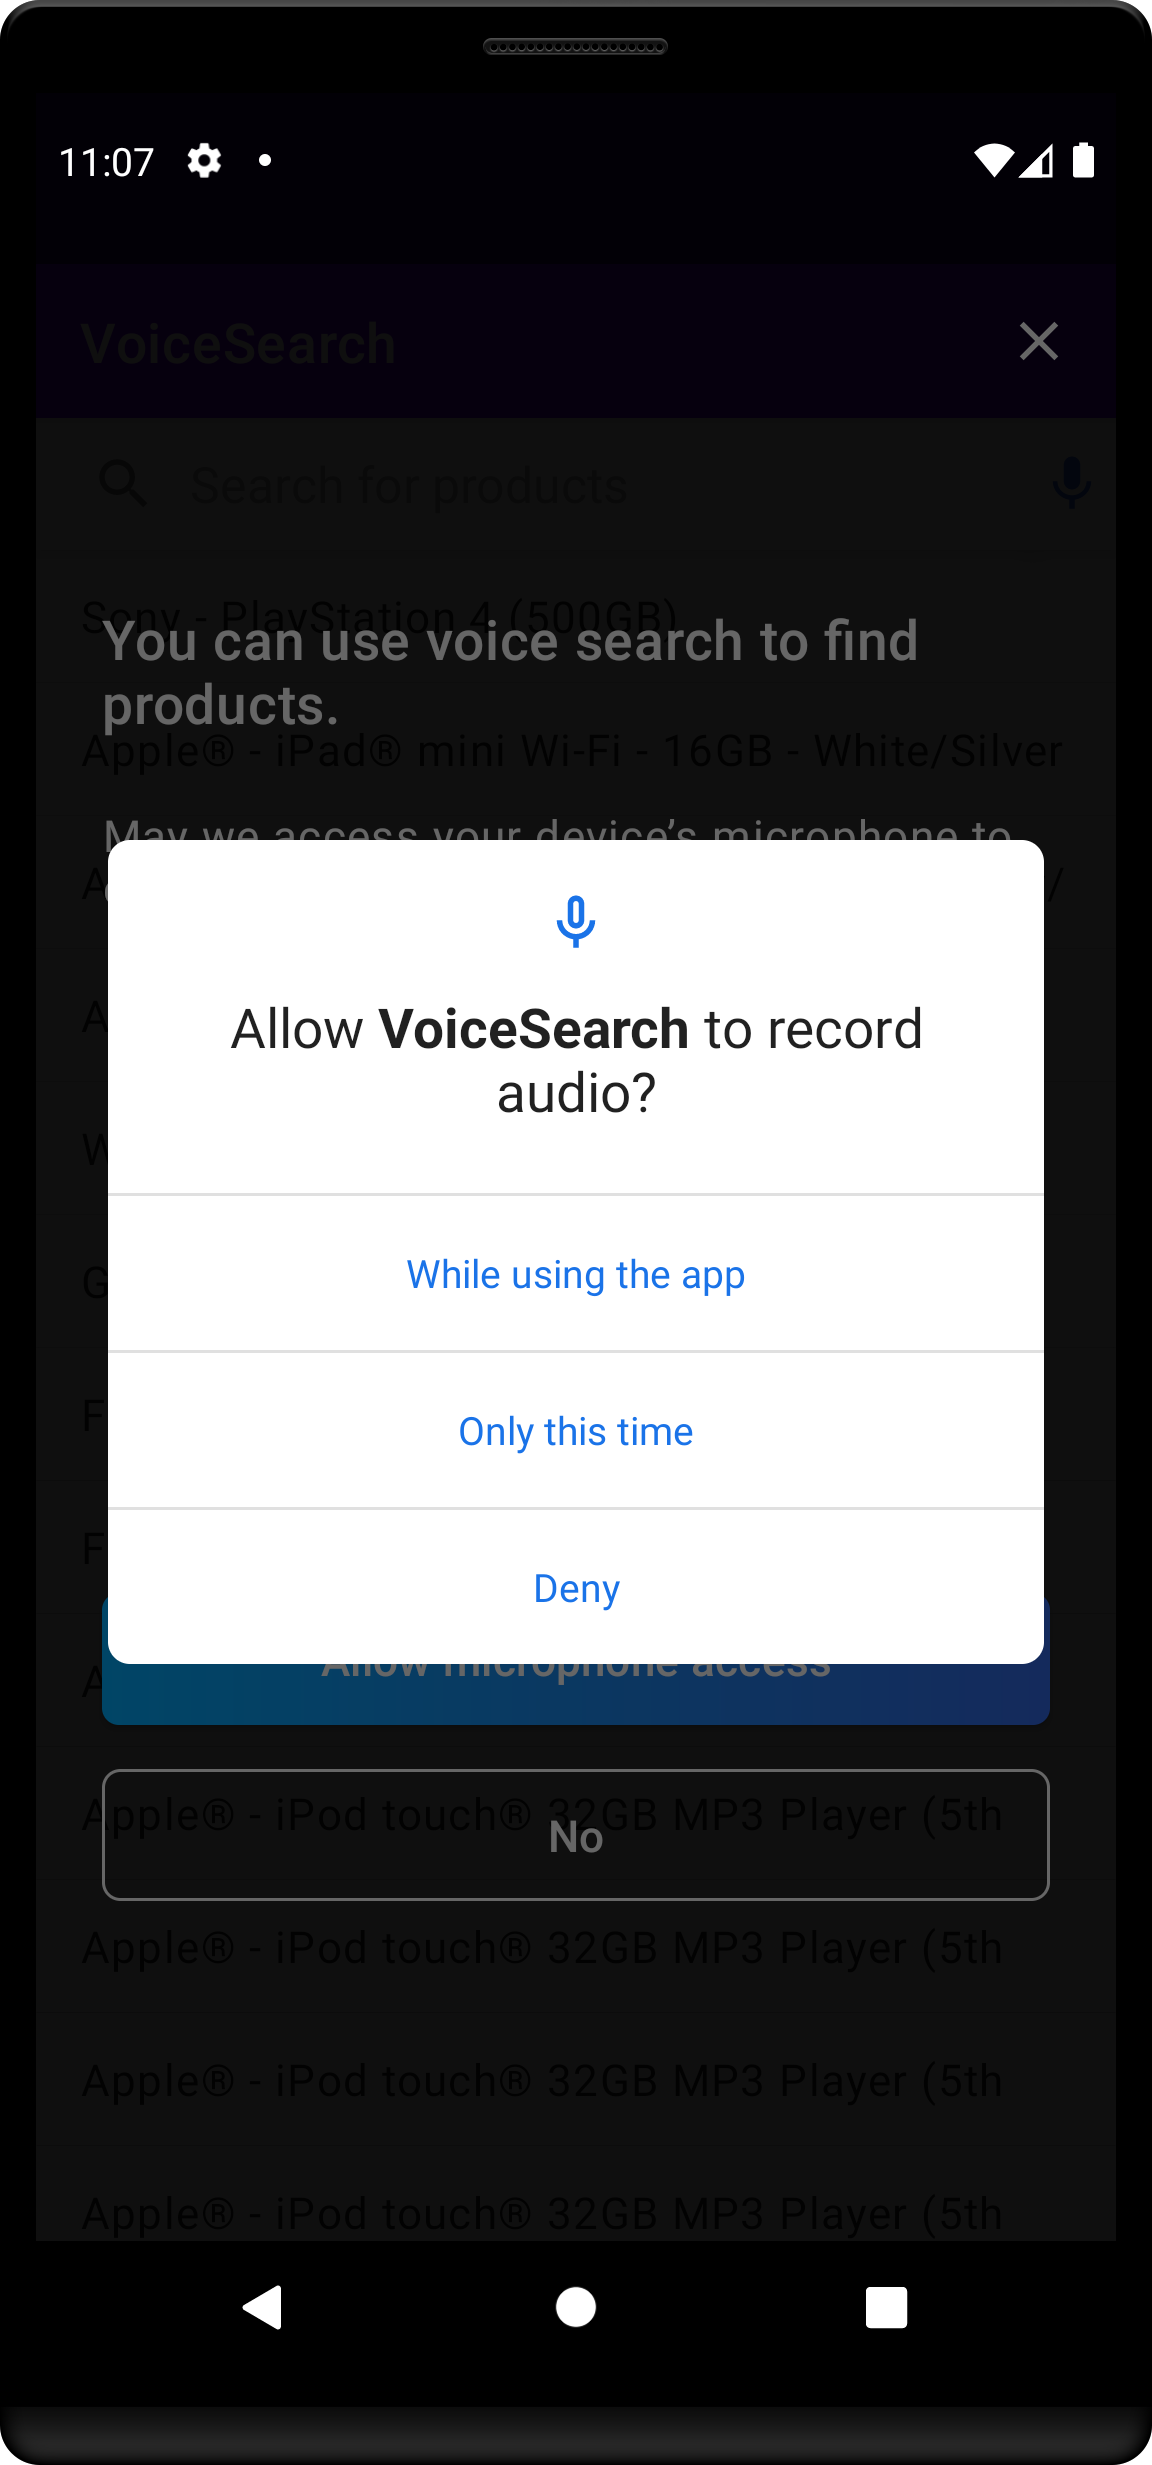
Once you give all the authorizations, the voice input interface appears. Try to say something and get the instant search results.
You can find a complete VoiceOverlay implementation on the git repository.
Conclusion
With Algolia’s libraries, you can build a voice search experience in less than a hundred lines of code.
You can customize your search experience and make it unique by modifying InstantSearch components, as well as the VoiceOverlay components.

